How to End a Friendship Bracelet: Braided Ties, Twists and Clean Trims
Finish a friendship bracelet so it stays tied and looks tidy. Learn when to stop knotting, how to lock the last row, and how to make braided or twisted ties and trim them.
Tutorial at a glance
Materials
- Finished knotted bracelet
- Sharp scissors
- Pin or needle
- Clear craft glue or clear nail polish (optional)
The last ten minutes decide whether a bracelet looks finished or just stopped. Knowing how to end a friendship bracelet means doing four small things in order: stopping at the right length, locking the final row, turning the loose strings into ties, and trimming cleanly. None of it is difficult, and all of it shows.
Know when to stop knotting
Wrap the knotted section around the wrist it is meant for before you finish. The right stopping point depends on how the bracelet began:
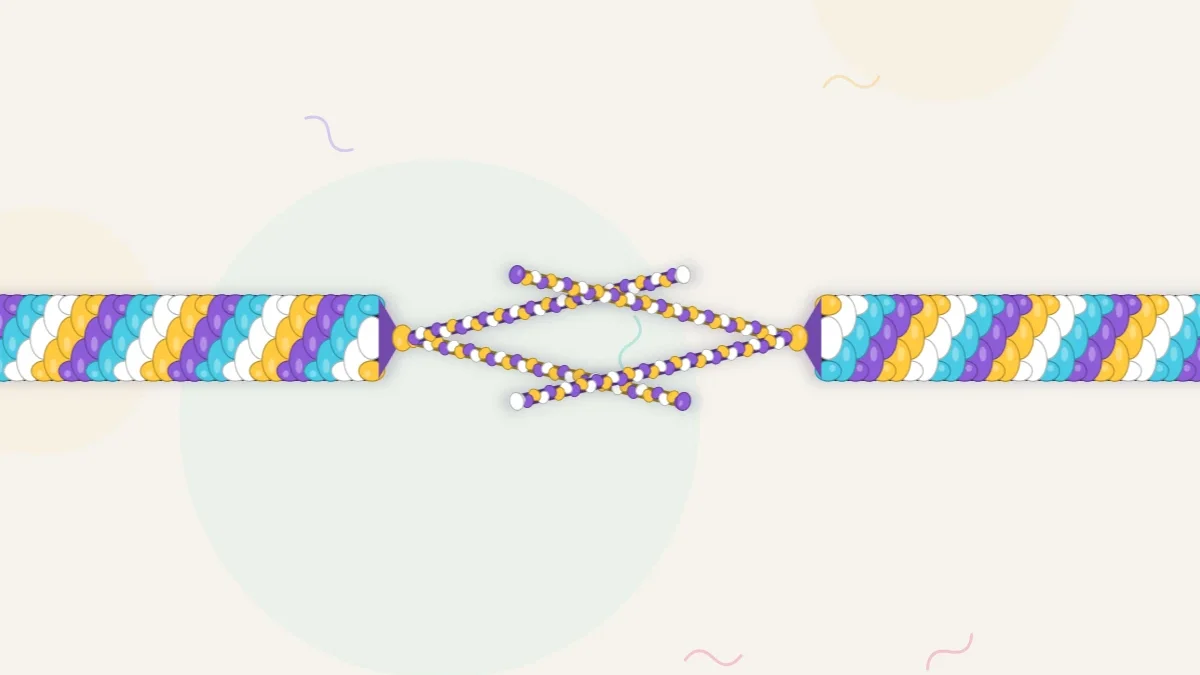
- Knot at the top, ties at both ends: stop when the knotted section reaches around the wrist with a gap of up to 1/2 in (1.3 cm). The ties cover the gap.
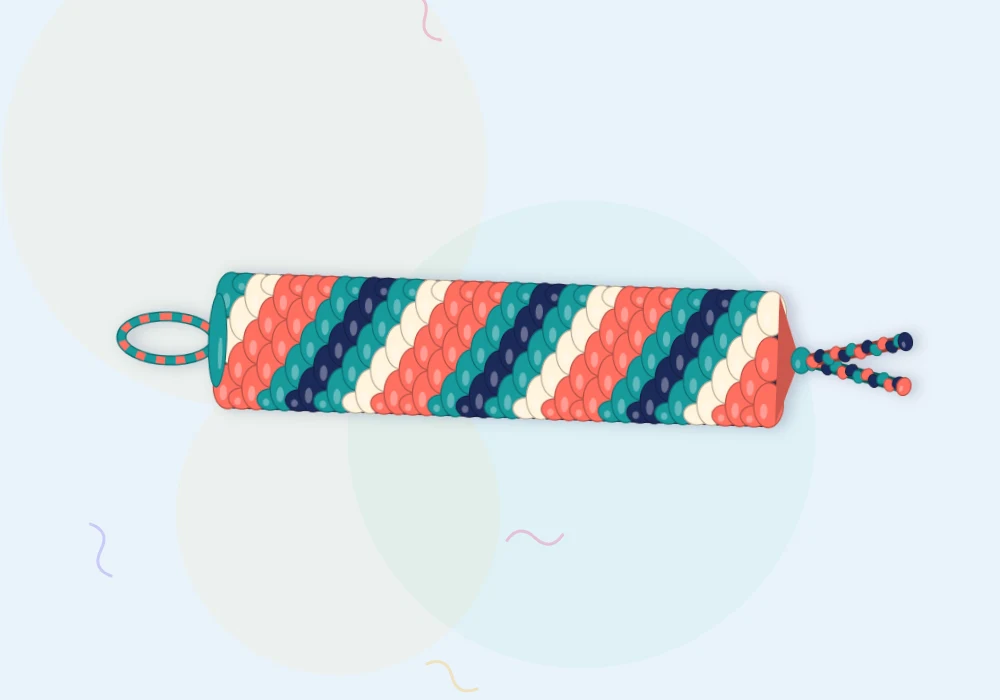
- Loop at the top: stop when the last row just meets the base of the loop. Any longer and the bracelet hangs loose once it is fastened.
Try to stop at the end of a full pattern repeat so both ends match. On a chevron, that means finishing a complete V. The point of the V makes a tidy, tapered end by itself; to square it off instead, add a few short rows of knots at each edge until the bottom is level.
Lock the last row
Knots at the bottom edge have nothing below to hold them in place, so secure them before making ties.
- Pull each string gently downward, one at a time, to snug up the final row.
- Gather all the strings and tie one overhand knot with the whole bundle, sliding it up against the last row before tightening. Slip a pin or needle into the knot to steer it into position.
- Tug each string separately to seat the knot.
If a bundle knot feels too bulky on a wide bracelet, skip it and go straight to two braids, starting each braid tight against the last row. The braids will hold the knots almost as well.
Braided ties
Braided ties are the classic finish: flat, comfortable and easy to knot around a wrist.
- Divide the strings into two equal groups, left and right.
- Split the first group into three strands. With 4 strings in a group, one strand is doubled; with 6, each strand is a pair.
- Braid for 3-4 in (8-10 cm), keeping the tension even.
- Tie an overhand knot at the end of the braid and pull it tight.
- Repeat with the second group, matching the length of the first.
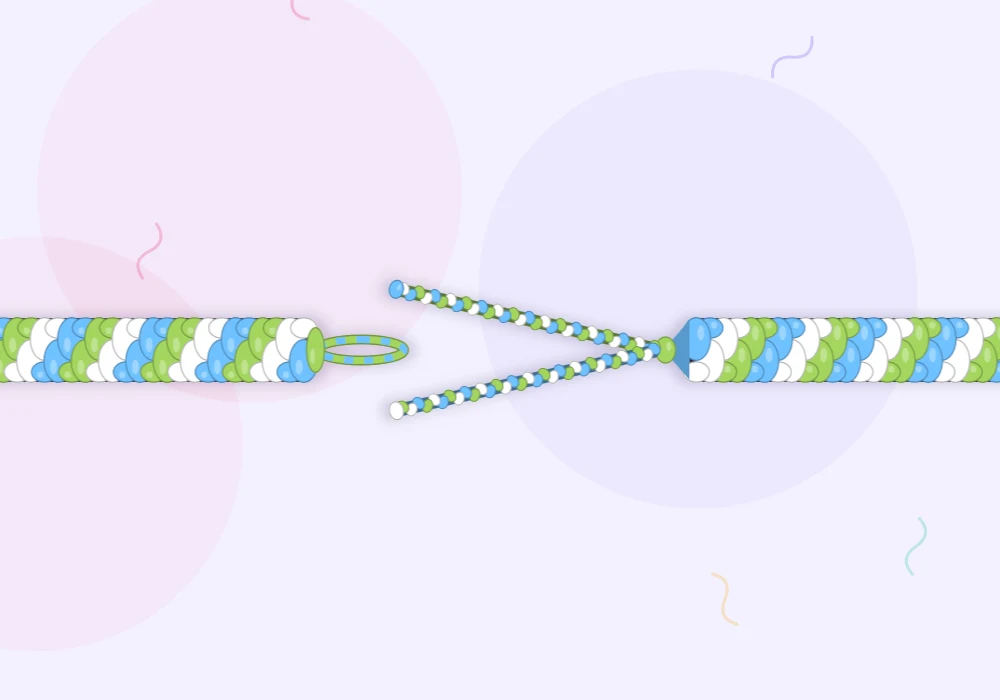
A bracelet that began with an overhand knot gets one or two braids at each end. One that began with a loop needs two braids at this end only: one goes through the loop, and the two are tied together.
Twisted ties
A twisted tie looks like a thin rope and is quicker than braiding. It works because two strands twisted the same way try to unwind, and wrap around each other as they do.
- Take the strings for one tie and split them into two strands.
- Twist each strand clockwise between your fingers until it is tight along its whole length. Keep hold of both so neither unwinds.
- Bring the two strands together and let them wind around each other counterclockwise. Help them along by twisting the pair in that direction.
- Tie an overhand knot at the end right away to lock the twist.
Tip
A twisted tie is easier with the bracelet still anchored. Tape or clip the knotted section down so both hands are free to twist.
Simple knotted ends
The fastest finish is no tie construction at all: after the bundle knot, leave the strings loose as a tassel about 3 in (8 cm) long and knot the two ends of the bracelet together when it is worn. It suits narrow bracelets of 4-6 strings. On wider ones, the loose strings make a thick, lumpy knot at the wrist, and braids are more comfortable.
A tidy middle option is to tie a second overhand knot about 2 in (5 cm) below the first, leaving a short section of straight strings between the two knots and a small tassel below.
| Finish | Time | Look | Best on |
|---|---|---|---|
| Two braids | About 5 minutes | Flat and classic | Any width |
| Twisted ties | About 3 minutes | Round, rope-like | Narrow to medium bracelets |
| Loose knotted tassel | About 1 minute | Casual | Narrow bracelets |
Trimming and keeping ends neat
Trim only after every knot has been pulled tight.
- Use sharp scissors. Dull blades chew cotton and leave a frayed, uneven end.
- Cut about 1/4 in (6 mm) below the final knot of each tie. Closer than that and the knot can work loose.
- Lay both ties side by side and cut them together so they match.
- For a bracelet that will be worn in water, touch a tiny drop of clear craft glue or clear nail polish to each end knot and let it dry fully. It stiffens the knot so it cannot untie.
Watch out
Do not try to seal cotton ends with a flame. Cotton floss scorches and burns instead of melting, so heat leaves a brown mark and a weak spot, not a seal.
Match the ending to the start and the wearer
Endings and beginnings come in pairs, so it helps to plan both together; the options for the top are compared in how to start a friendship bracelet. If the bracelet is a gift and the wrist size is a guess, braid the ties a little longer, or use one of the methods in adjustable friendship bracelet closures so it fits a range of sizes.
If the knotted section turns out slightly short, longer ties will hide it. If a string ran out before the others, it can be joined on the back, as shown in how to fix friendship bracelet mistakes.
Frequently asked questions
How do you tie off a friendship bracelet so it does not unravel?
Tie one overhand knot with all the strings tight against the last row, then braid or twist the strings into ties and knot the end of each tie.
How long should the ties on a friendship bracelet be?
About 3-4 in (8-10 cm) per tie is enough to knot comfortably around a wrist. Make them a little longer if you are unsure of the wearer's size.
Can you burn the ends of embroidery floss to seal them?
No. Cotton scorches instead of melting, so a flame only weakens and discolors it. Use a firm knot and, if needed, a tiny drop of clear glue.
How do you end a chevron bracelet evenly?
Finish a full V and tie off at the point for a tapered end, or add a few short rows of knots at each edge until the bottom is level.


