Adjustable Friendship Bracelet Closures: Sliding Knot, Loop and Button
Three adjustable closures for friendship bracelets, with steps for each: a square-knot sliding knot, a loop with two braids, and a button loop that offers two sizes.
Tutorial at a glance
Materials
- Knotted bracelet with ties
- Extra embroidery floss
- Scissors
- Tape or small clips
- Clear craft glue
- One or two small flat buttons (for the button loop)
Tied-on bracelets are meant to stay on, which is charming until the wearer needs to take one off for a sports game or a job. An adjustable friendship bracelet closure solves that: the bracelet slides over the hand, tightens to fit, and loosens again. Three closures cover almost every case. The sliding knot gives the widest range, the loop with two braids is the simplest, and the button loop is the quickest to fasten with one hand.
Choosing a closure
| Closure | Adjusts by | Extra materials | Difficulty |
|---|---|---|---|
| Sliding knot | Pulling the two tails through a knotted sleeve | One 12 in (30 cm) piece of floss | Intermediate |
| Loop and two braids | Tying the braids tighter or looser | None | Easy |
| Button loop | Choosing between two buttons | One or two small buttons | Easy |
The closure has to be planned from the start of the bracelet. A sliding knot needs a tie at each end, so the bracelet begins with an overhand knot. The other two need a loop at the top. Both beginnings are explained in how to start a friendship bracelet.
Sliding knot (square-knot slider)
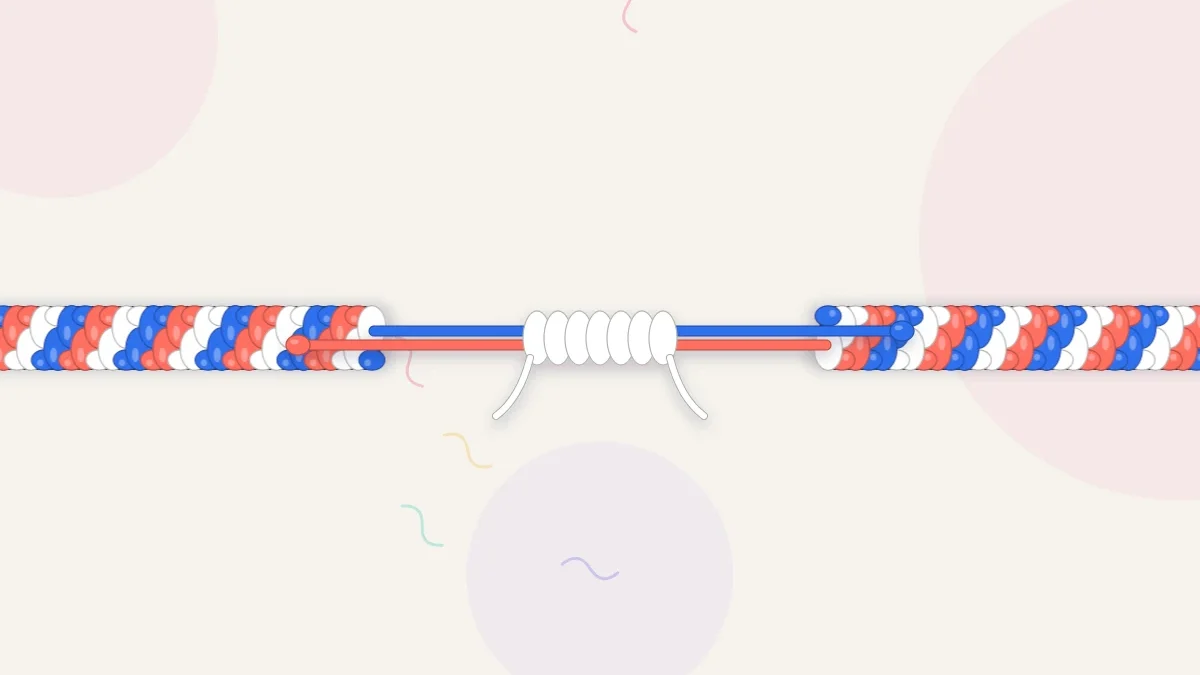
The slider is a short sleeve of square knots tied around both tails of the bracelet. The tails are not knotted to the sleeve; they pass through it and slide. Pulling the tails apart shrinks the bracelet, and pulling the bracelet open stretches it. The square knot is a basic macramé knot, and here it is tied with a separate piece of floss.
Prepare the bracelet
Make the knotted section about 1 in (2.5 cm) shorter than the wrist measurement. Finish each end as a single thin tie about 4 in (10 cm) long, either one braid or one twisted cord. Thin, firm ties slide far better than loose strings.
Tie the slider
- Curve the bracelet into a circle and overlap the two ties so they lie side by side, pointing in opposite directions. Tape them to the table at both sides of the overlap, or hold them with small clips.
- Cut a 12 in (30 cm) piece of floss. Center it under the overlapped ties so there is an equal length on the left and right.
- Lay the left end over the ties, making a loop on the left. Lay the right end over the tail of the left end.
- Pass the right end under the ties and up through the left loop. Pull both ends evenly. That is half a square knot.
- Mirror it: lay the right end over the ties, lay the left end over its tail, pass the left end under the ties and up through the right loop. Pull snug. One square knot is complete.
- Repeat until there are five to seven square knots, a sleeve about 1/2 in (1.3 cm) long.
- Knot the two ends of the slider floss together on the back, add a tiny drop of clear craft glue, let it dry, and trim close.
- Tie an overhand knot at the tip of each bracelet tie so it cannot pull back through the sleeve.
Watch out
Keep glue on the slider floss only. If it soaks into the ties underneath, the sleeve bonds to them and the bracelet stops sliding. Use the tip of a pin to place a very small amount.
Tension is the main skill here. Square knots pulled as tight as possible grip the ties so hard that they will not move; knots left loose let the bracelet open by itself. Aim for a sleeve that slides with a firm tug and stays where it is left.
Loop and two braids
This closure needs no extra parts and is forgiving about size, which makes it a good choice for gifts.
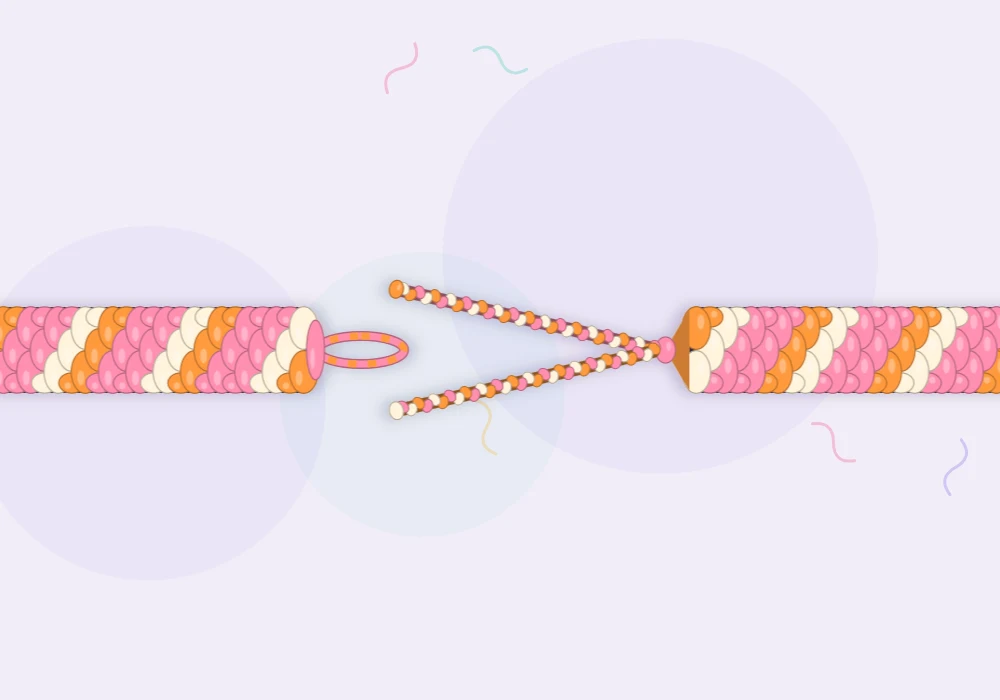
- Begin the bracelet with a folded or braided loop about 1/2 in (1.3 cm) long.
- Knot the pattern until the bracelet reaches around the wrist and the last row meets the base of the loop.
- Divide the remaining strings into two groups and braid each one for 3-4 in (8-10 cm). Knot the end of each braid.
- To wear it, pass one braid through the loop and tie the two braids together in a bow or a simple knot.
The fit changes with where the braids are tied, giving roughly 1 in (2.5 cm) of adjustment. For a version that does not need retying each time, tie two or three overhand knots along one braid, about 1/2 in (1.3 cm) apart. Each knot acts as a stopper that can be pushed through the loop for a tighter or looser setting. The braiding itself is described in how to end a friendship bracelet.
Button loop
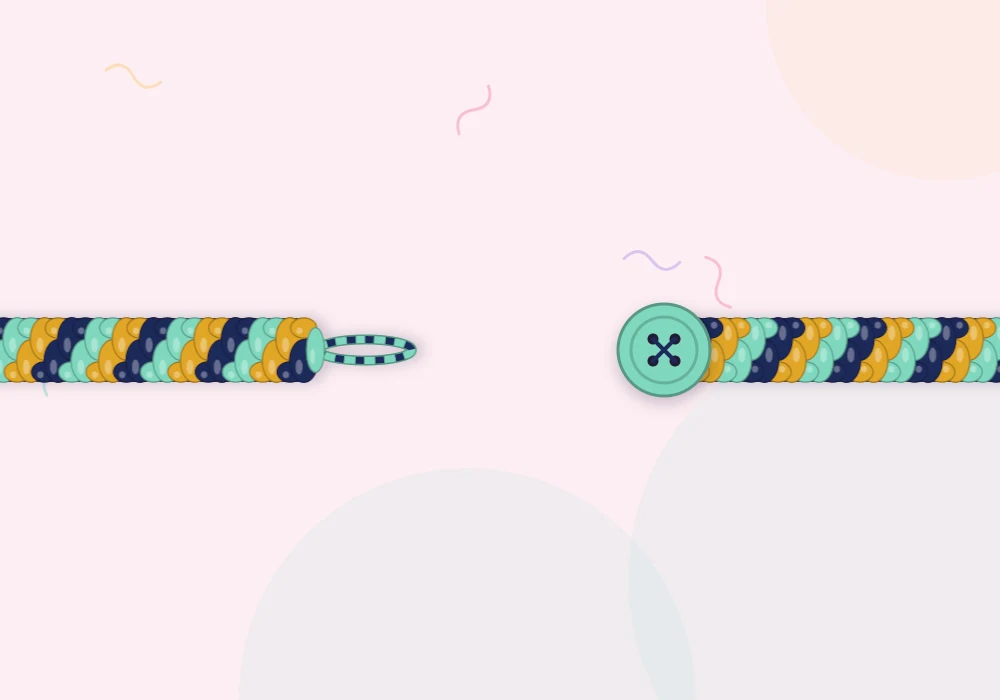
A button and loop fasten in a second and lie flat on the wrist. One button gives one fixed size, so the adjustable version uses two.
- Choose flat buttons about 3/8-1/2 in (1-1.3 cm) across with holes large enough for a few strands of floss.
- Start with a loop sized to the button: it should stretch over the button with slight resistance.
- Knot the bracelet until it is about 1/2 in (1.3 cm) shorter than the wrist measurement, then tie a bundle knot.
- Divide the strings in two groups. Thread one group through each hole of the first button and slide the button up against the bundle knot. Tie an overhand knot below it.
- Leave about 1/2 in (1.3 cm), thread on the second button the same way, and knot firmly below it.
- Trim the ends about 1/4 in (6 mm) below the last knot.
The first button is the larger setting and the second is the smaller one. If the floss is too thick for the button holes, thread only two strings through each hole and trim the others after the bundle knot.
Tip
Cotton loops relax with wear. Make every loop slightly snug at first, because it will loosen a little during the first few days.
Getting the size right
Adjustable does not mean any length will do. A slider needs the knotted section shorter than the wrist, a loop closure needs it equal to the wrist, and every closure needs enough leftover string for ties. If the strings are already cut, check them against the lengths in how to measure friendship bracelet string and add about 4 in (10 cm) when planning a sliding knot.
Frequently asked questions
How do you make a sliding knot on a friendship bracelet?
Overlap the two ties so they point in opposite directions, then tie five to seven square knots around both with a separate 12 in (30 cm) piece of floss. Knot the tip of each tie so it cannot slip out.
Why does my sliding knot not slide?
The square knots are too tight, the ties are too thick or fuzzy, or glue has soaked through to the ties. Use thin braided or twisted ties and firm, not maximum, tension.
Which adjustable closure is easiest for beginners?
The loop and two braids. It needs no extra materials: one braid goes through the loop and the two braids are tied together at whatever tightness fits.
What size button works for a friendship bracelet?
A flat button about 3/8-1/2 in (1-1.3 cm) across suits most bracelets. Size the loop to the button so it stretches over with slight resistance.


