How to Tie the Forward Knot for Friendship Bracelets
The forward knot moves a string from left to right and is the first knot to learn. Follow the steps, get the tension even, and fix the most common errors.
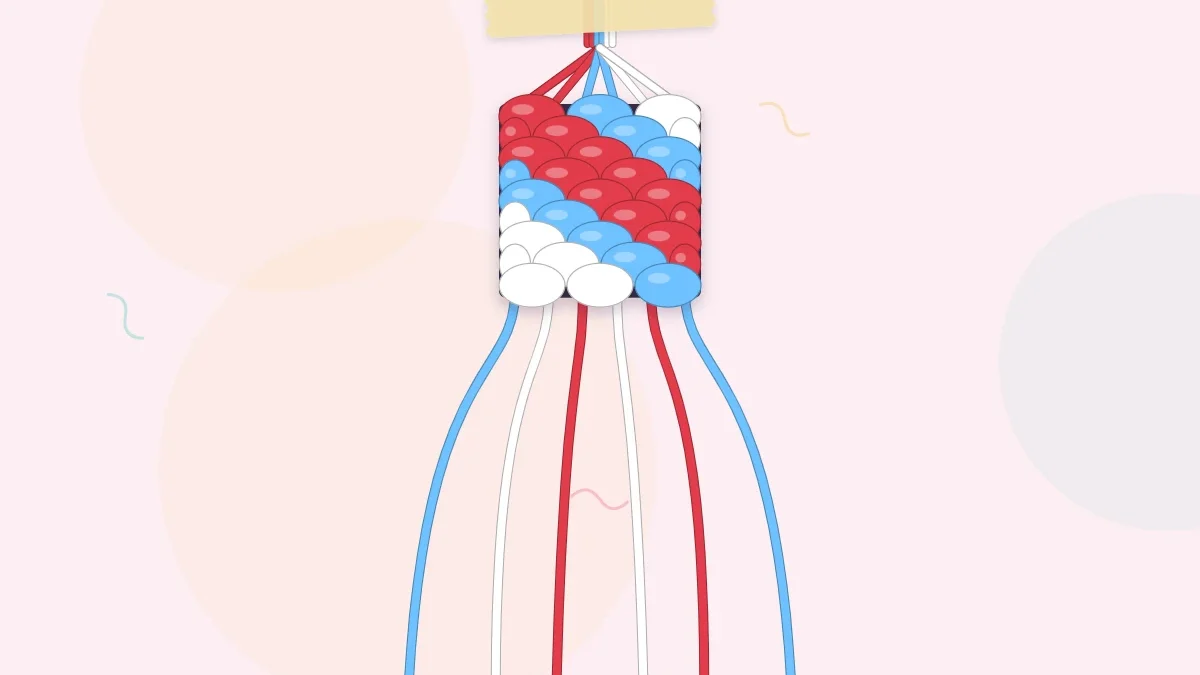
Tutorial at a glance
Materials
- Embroidery floss in 2 contrasting colors
- Scissors
- Tape or a clipboard
- A pin or needle for undoing knots
The forward knot is the first knot nearly every bracelet maker learns, and for a good reason: a complete diagonal-stripe bracelet can be made with nothing else. It carries one string from left to right across its neighbor and leaves behind a small, rounded knot in the working string’s color.
The steps below use two practice strings so you can see clearly what each hand is doing before you try it on a full set of strings.
What the Forward Knot Does
Like all four basic knots, the forward knot is two half hitches tied with one string around the string next to it. In a forward knot both half hitches go the same way, left to right. The working string starts on the left and ends on the right, so the two strings trade places. The knot shows the working string’s color, and the holding string disappears inside it.
On a pattern chart, the forward knot is the circle with an arrow pointing down and to the right.
Set Up a Practice Pair
Cut two strings of 6-strand cotton embroidery floss about 30 in (76 cm) long, in colors that are easy to tell apart. This guide uses red and sky blue. Use the floss whole, without separating the strands. Tie the two together with an overhand knot about 3 in (8 cm) from one end, and tape the knot to a table or clip it under a clipboard.
Lay the red string on the left and the blue string on the right. Red is the working string. Blue is the holding string.
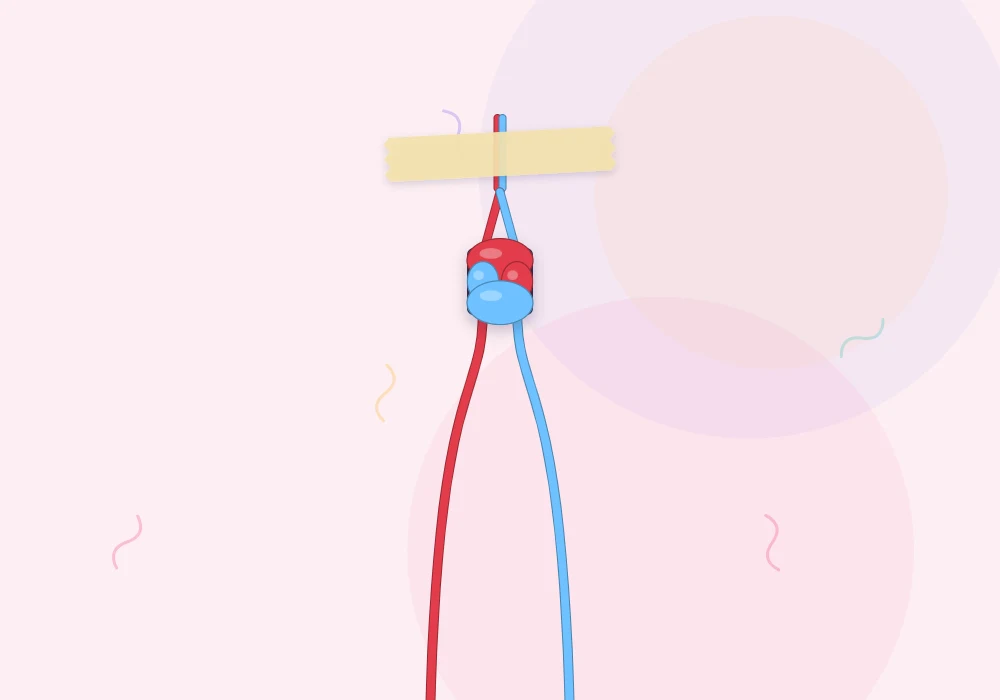
How to Tie a Forward Knot, Step by Step
- Hold the blue string taut. Pull it straight down toward you with one hand and keep it there. Many people pinch it against a finger so the other fingers stay free.
- Make a “4”. Lay the red string across the top of the blue string so that the two form the number 4. The red string crosses over blue and its end points to the right.
- Go under and through. Bring the red end under the blue string and up through the opening of the 4.
- Pull up to the top. Keep blue taut and pull red up and slightly to the right until the wrap slides all the way up against the starting knot. That is one half hitch.
- Repeat with the same two strings. Make a second 4 with red over blue, pass red under and up through the opening, and pull it up until it sits snugly under the first half hitch.
- Check the result. You should see one red bump, and the red string should now hang on the right of the blue string.

To keep practicing with the same pair, simply tie another forward knot. This time blue is on the left, so blue becomes the working string and the knot comes out blue. The colors will alternate down your practice strip.
Getting the Tension Right
Tension is what separates a neat forward knot from a lumpy one, and most of it comes from the holding string rather than the working string.
- The holding string stays straight. If it goes slack while you pull, the knot can flip over so that the holding string wraps the working string instead. The bump then shows the wrong color.
- Pull the first half hitch firmly. It sets the position of the knot, so slide it right up to the row above before you start the second.
- Pull the second half hitch to meet it. It only needs to be snug. Yanking it harder than the first makes the knot tilt.
- Pull up and to the right. Pulling straight sideways leaves the knot lower than its neighbors.
Aim for every knot to feel the same rather than for every knot to be as tight as possible. Very tight knots make a stiff bracelet that curls. Loose ones leave gaps where the holding strings peek through.
Tip
Count “one, two” in your head on every knot for the first few sessions. It sounds simple, but it is the easiest way to make two half hitches a habit.
Common Forward Knot Errors
| What you see | Likely cause | What to do |
|---|---|---|
| The bump is the holding string’s color | The holding string went slack and the knot flipped | Untie it and keep the holding string taut while you pull |
| The work twists into a spiral | Only one half hitch was tied on some knots | Tie two half hitches every time |
| Small gaps above a knot | The first half hitch was not slid to the top | Push each wrap up before tightening |
| The working string is back on the left | The second half hitch was tied in the backward direction | Redo it with a regular 4 shape both times |
| The strip curls or feels stiff | Knots are pulled too tight | Ease off and match the pressure from knot to knot |
A knot that went wrong can almost always be opened with the tip of a pin or needle and tied again. The guide to fixing friendship bracelet mistakes covers unpicking in detail.

Tying a Row of Forward Knots
One forward knot moves a string one place to the right. A row of them moves it all the way across. With several strings taped side by side, take the leftmost string and tie a forward knot around the string beside it. The same working string is now second from the left, so tie a forward knot around the next string, and keep going until it reaches the right edge. Then pick up the new leftmost string and do it again.
That is the whole method behind the candy stripe friendship bracelet, which makes it the natural first project once your practice knots look even.
Watch out
In a row, the working string stays the same and the holding string changes with every knot. Beginners often tie the first half hitch around one string and the second around the next. Both half hitches of a knot always go around the same holding string.
When rows of forward knots feel comfortable, the next step is its mirror image, the backward knot. With those two you can knot diagonals in both directions.
Frequently asked questions
Which string is the working string in a forward knot?
The string on the left. It wraps around the string on its right twice and finishes on the right side of it.
Why does my forward knot show the wrong color?
The holding string probably went slack, which lets the knot flip so the holding string wraps the working string. Untie it and keep the holding string straight and taut.
How tight should a forward knot be?
Snug enough to sit against the row above without gaps, but not so tight that the bracelet curls or stiffens. Even pressure from knot to knot matters most.
Can I make a whole bracelet with only forward knots?
Yes. A candy stripe bracelet is made entirely from rows of forward knots.


