Alpha Checkerboard Bracelet Pattern for Color-Change Practice
An original checkerboard alpha strip on eight base strings, written row by row, for practicing color changes with two working strings. Includes a scattered-dot variation and fixes for common problems.

Tutorial at a glance
Materials
- Embroidery floss in teal and cream
- Scissors
- Tape or a clipboard
- A pin for undoing knots
- Bobbins or card for winding long strings
An alpha checkerboard bracelet pattern is the best drill there is for changing colors in horizontal knotting. The design is nothing more than two-by-two blocks that swap places, so there is no picture to lose track of, and the color switches at the same spots in every row. By the end of one strip, swapping working strings feels routine. The checkerboard and the dot variation below are original practice grids, written out row by row.
If horizontal knotting is new to you, read alpha bracelet patterns for beginners first. It explains base strings, working strings and the back-and-forth rows that this project builds on.
What you need
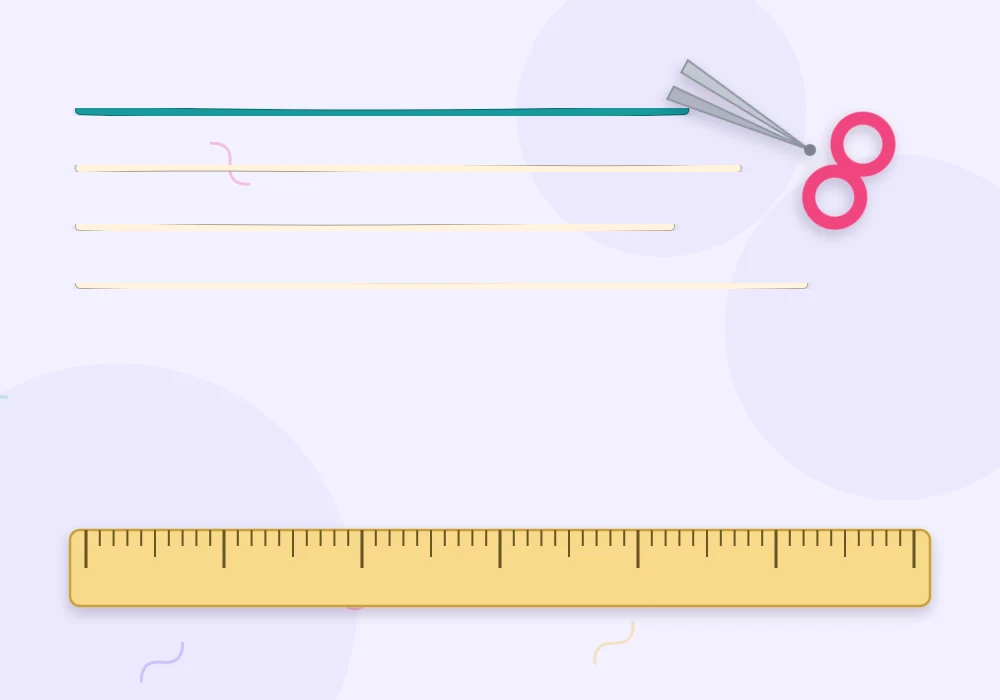
- 8 base strings, each about 30 in (76 cm), in cream or another light color. They are covered by knots, but a color close to your lighter working string hides any tiny gaps.
- 2 working strings, one teal and one cream, each about 100 in (254 cm). Working strings do all the knotting, so they are used up much faster than base strings. Wind the extra length onto a bobbin or a folded piece of card.
- Scissors, tape or a clipboard, and a pin for undoing knots.
These lengths are estimates for a wrist-length strip. For other sizes, see how to measure friendship bracelet string.
Setting up the strip
- Hold the eight base strings and both working strings together and tie an overhand knot about 4 in (10 cm) from one end.
- Tape the knot down or clip it to a clipboard.
- Spread the base strings flat and side by side. Bring both working strings out to the left.
Number the base strings 1 to 8 from left to right in your head. They never change places, which is what keeps alpha knots in straight columns.
How the color change works
Every knot in the strip is tied by one of the two working strings around one base string. Rows going left to right use forward knots; rows coming back right to left use the backward knot. The knot shows the color of whichever working string tied it.
Both working strings travel across each row together. Only one of them ties each knot. The other one rests:
- Lay the resting string straight down alongside the base string you are about to knot over.
- With the active string, tie the knot (two half hitches) around the base string and the resting string together.
- Pull the resting string gently sideways so it sits snug inside the knot, with no loop left behind.
- When the chart calls for the other color, the two strings trade jobs.
The resting string ends up hidden inside the knots and arrives at the next block ready to use, with nothing floating across the back.
Tip
Just before a color change, give the string that is about to take over a light tug. This closes any slack it gathered while resting and keeps the border between blocks crisp.
The checkerboard, row by row
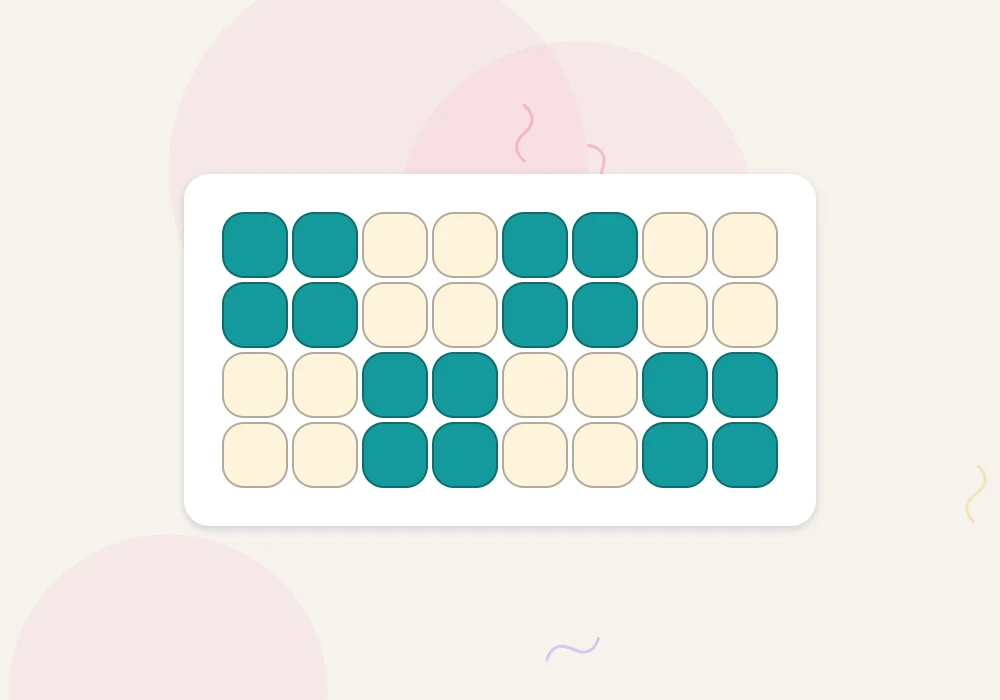
Each block is two knots wide and two rows tall. T means a teal knot and C means a cream knot. Columns are always listed from base string 1 to base string 8, whichever direction you are knotting.
| Row | Direction | Knot | Columns 1 to 8 |
|---|---|---|---|
| 1 | Left to right | Forward | T T C C T T C C |
| 2 | Right to left | Backward | T T C C T T C C |
| 3 | Left to right | Forward | C C T T C C T T |
| 4 | Right to left | Backward | C C T T C C T T |
In words:
- Row 1. Working left to right, tie two teal forward knots on base strings 1 and 2, two cream on 3 and 4, two teal on 5 and 6, and two cream on 7 and 8. Both working strings are now on the right.
- Row 2. Working right to left with backward knots, start at base string 8: two cream knots on 8 and 7, two teal on 6 and 5, two cream on 4 and 3, two teal on 2 and 1. Each knot sits under one of the same color, completing the first row of blocks.
- Row 3. The blocks swap. Left to right: two cream, two teal, two cream, two teal.
- Row 4. Right to left, starting at base string 8: two teal, two cream, two teal, two cream.
Repeat rows 1 to 4 until the strip is long enough. A first strip takes about 2-3 hours, most of it in the first inch while the color changes are still unfamiliar.
Watch out
At the end of a row, both working strings must turn the corner together. Before tying the first knot of the new row, pull each one snug against the edge. A loop left here shows as a bump on the side of the bracelet and cannot be tightened later.
Variation: scattered dots
Once the checkerboard feels comfortable, try single-knot dots on the same eight base strings. Dots are harder because the accent string rests for long stretches and then ties only one knot. A coral accent on a navy background shows up well.
- Row 1: all navy.
- Row 2: navy, with a coral knot on base strings 2 and 6.
- Row 3: all navy.
- Row 4: navy, with a coral knot on base strings 4 and 8.
Repeat the four rows. The dots fall in a staggered, diagonal arrangement. If a dot on the edge string feels fiddly, leave it out on your first attempt and keep only the dot on base string 4.

Troubleshooting
- The resting color peeks through. The active string’s knot is too loose, or its two half hitches are not sitting side by side. Tighten each half hitch fully before tying the next.
- Blocks look taller than they are wide. Rows are packed loosely. Push each finished row up against the one above with a fingernail.
- The strip narrows or widens. Base strings are drifting. Keep them taut and evenly spaced, and check the width against the first rows every inch or so.
- You lost your place. Count the rows in the current block at the left edge. One row means you are on the second row of a pair; two rows means it is time to swap colors.
Where to go next
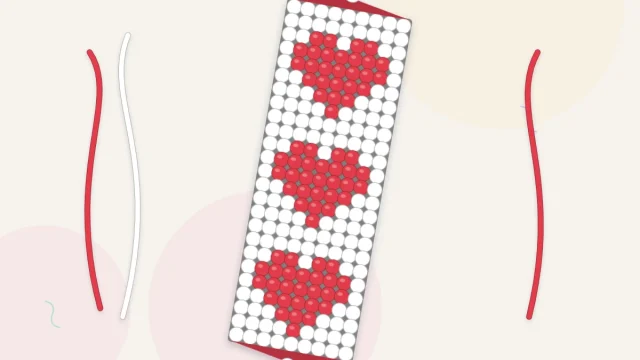
The checkerboard teaches the switch; a picture teaches you to follow a grid. The alpha heart bracelet pattern uses exactly the same two-string method on a small motif with rows that differ from one another, which makes it a natural second alpha project.
Frequently asked questions
Is a checkerboard a good first alpha pattern?
It is a good second step after a plain practice strip. The color changes fall in the same places every row, so you can concentrate on the switch itself.
How many base strings does the checkerboard need?
This version uses eight, which gives four blocks across. Any even number works as long as each block is two knots wide.
What happens to the working string that is not being used?
It is laid alongside the base string and knotted over by the active string, so it stays hidden inside the knots until its color is needed again.
Why are my squares not square?
Rows that are not pushed up tightly make blocks look tall. Tighten each half hitch and nudge every finished row against the one above it.