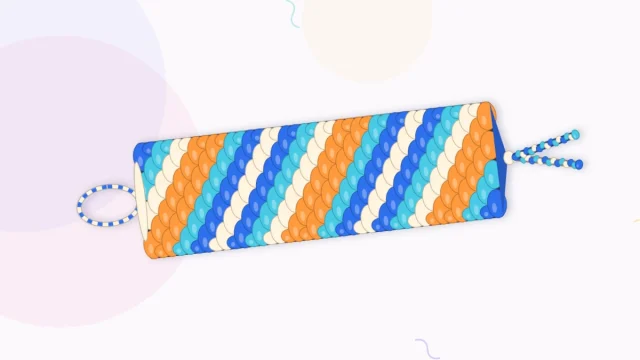
Braided Friendship Bracelet: Three-Strand and Four-Strand Braids
Two no-knot bracelets made from bundles of embroidery floss: the classic three-strand plait and a flat four-strand woven braid, with bundle sizes, lengths and tips for keeping tension even.
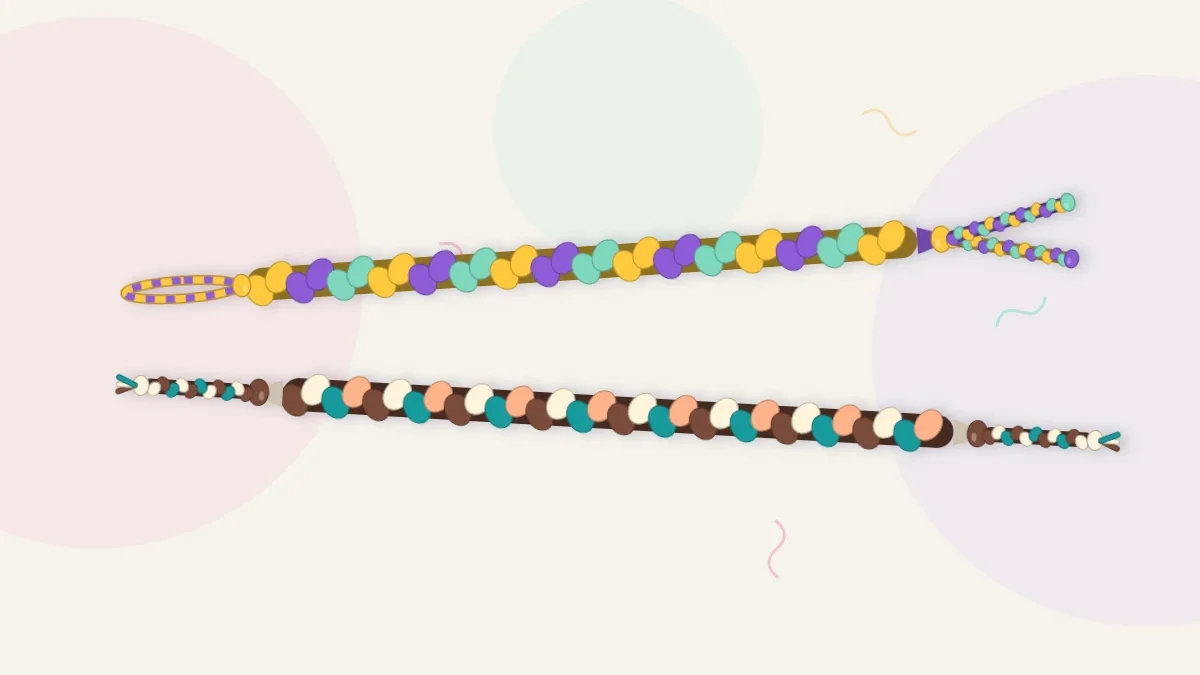
Tutorial at a glance
Materials
- Embroidery floss in 3 or 4 colors
- Scissors
- Ruler or tape measure
- Tape or a clipboard
Not every bracelet has to be knotted. A braided friendship bracelet uses the same embroidery floss and the same setup, but the strands simply cross over one another, so a finished band takes minutes instead of hours. Braids are a good warm-up before learning knots, a quick gift when time is short and a useful skill in their own right, since the same braid finishes the ends of most knotted bracelets.
Why bundles matter
A single length of floss braids into something closer to a cord than a bracelet. The trick is to treat several strings as one strand. Each group is called a bundle here, and the strings inside it lie side by side like a ribbon. More strings per bundle make a wider, chunkier braid.
| Strings per bundle | Three-strand braid | Four-strand braid |
|---|---|---|
| 1 | Very thin cord, good for ties | Thin flat cord |
| 2 | Slim bracelet | Standard bracelet width |
| 3 | Standard bracelet width | Wide band |
| 4 | Chunky braid | Very wide, best kept loose |
Bundles can be one color each for clean color blocks, or mixed for a heathered look in which the colors blend along each strand.
Cutting and setting up
Braiding uses far less length than knotting. About 24 in (61 cm) per string is enough for a wrist bracelet with ties at both ends, compared with the 30-36 in (76-91 cm) a knotted pattern needs.
- Cut the strings and line up the ends.
- Tie all of them together in an overhand knot, leaving a tail of about 3 in (8 cm).
- Tape the tail to a table or clamp it under a clipboard clip.
- Divide the strings into bundles and smooth each one flat.
An overhand knot is the quickest start. A loop start gives a braid a neat closure with no bulky knot at one end, and it is covered along with the other options in how to start a friendship bracelet.
Three-strand braid
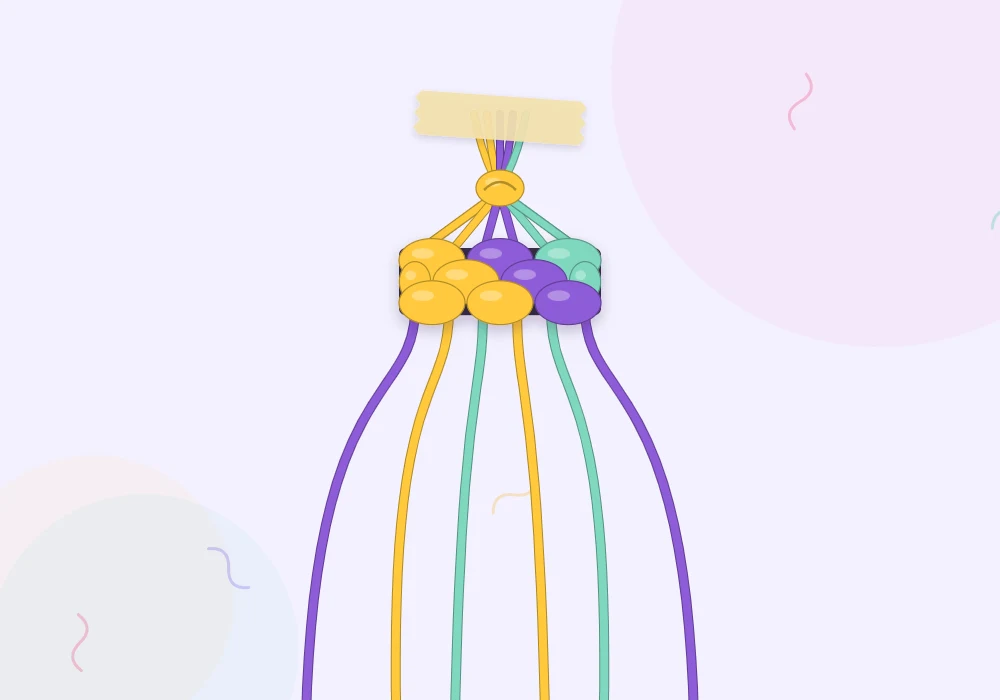
For the example, cut three strings each of sun yellow, violet and mint, nine in all, and make one bundle per color.
- Lay the three bundles side by side: left, middle, right.
- Cross the left bundle over the middle one. It becomes the new middle.
- Cross the right bundle over the new middle. It becomes the middle in turn.
- Repeat, alternating left and right, always bringing an outside bundle over into the center.
- After each crossing, give the bundle a gentle tug upward and outward so the braid tightens toward the top.
The result is the familiar plait: a row of small V shapes running down the band, with each color surfacing in turn. Braid until the plaited section measures about 6 in (15 cm), then tie an overhand knot against the last crossing.
Tip
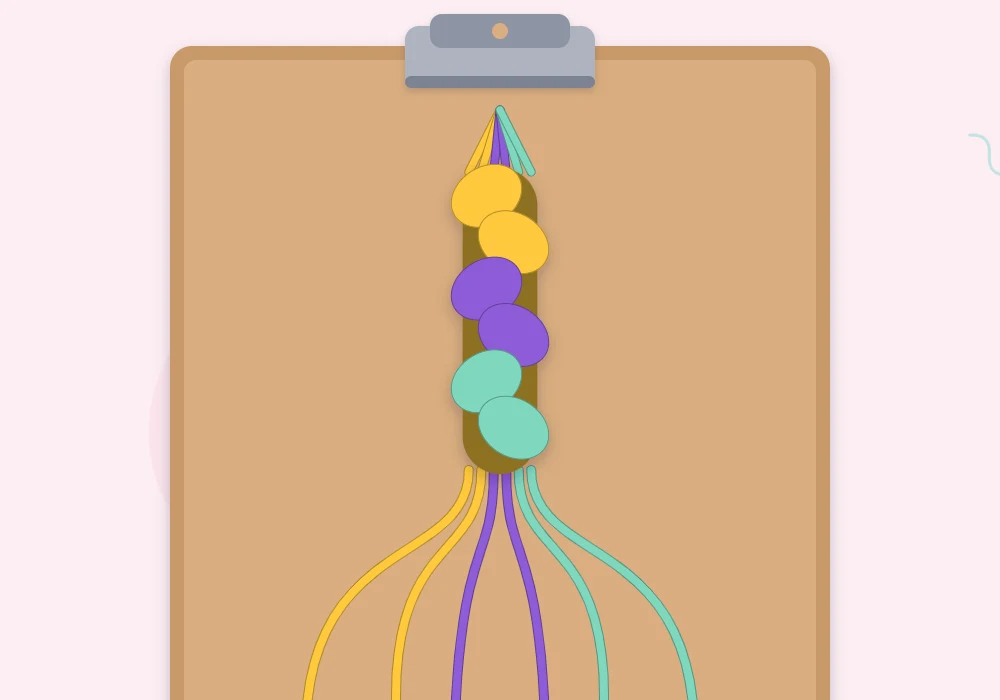
Keep each bundle flat as it crosses, like folding a ribbon, and do not let it roll into a round cord. Flat bundles make a wide, smooth braid in which every string stays visible.
Four-strand flat braid
A fourth strand turns the plait into a small woven band. It lies flatter than a three-strand braid and shows diagonal blocks of color. For the example, cut two strings each of cocoa, cream, teal and peach and make four bundles of two.
- Lay the four bundles side by side.
- Pick up the far-left bundle. Pass it over the second bundle, under the third and over the fourth. It is now on the far right.
- Slide the crossing up toward the top and snug the bundles together.
- Pick up the bundle that is now on the far left and weave it across in exactly the same way: over, under, over.
- Keep repeating from the left.
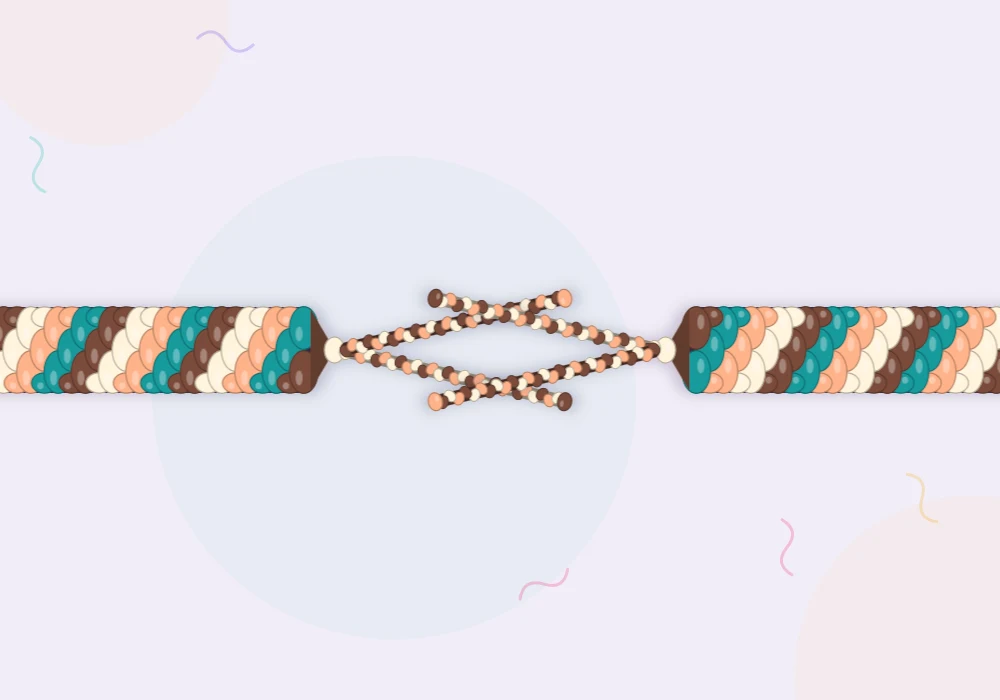
Every pass starts from the same side and follows the same over-under-over path, so there is nothing to keep track of except which bundle is on the far left. After four passes the colors are back in their starting order. The finished braid has a slight diagonal grain, with each color running across the band at a slant.
Watch out
If the woven look disappears and two bundles sit stacked on top of each other, a pass was skipped or went under where it should have gone over. Undo the braid back to the last clean crossing. It only takes a moment, since nothing is knotted.
Keeping a braid even
- Use steady tension. Pull each crossing snug by the same amount. Braids that start tight and finish loose taper visibly.
- Hold the work close to the last crossing. Pinching just below it with one hand stops the braid from loosening while the other hand moves a bundle.
- Untangle the tails often. Loose ends braid themselves in reverse below the work. Run the fingers through them every few crossings.
- Do not twist. If the whole braid begins to spiral, the anchor is letting it turn. Re-tape it flat.
Finishing and wearing
End the braid with an overhand knot pushed tight against the last crossing, then trim the tails to about 3 in (8 cm) on each side so they can be tied around the wrist. For tidier ties and other closures, see how to end a friendship bracelet.
Braids are light and soft, so they stack well. Three slim braids in related colors read as one wide cuff, and a braid beside a knotted band adds a change of texture. Because each one takes about 15-30 minutes, they also make good practice for choosing colors: try a combination as a braid first, and if it works, use it for a longer project.
From braids to knots
Braiding teaches the things knotted patterns depend on: cutting to length, anchoring the work, keeping strings in order and pulling with even tension. When those feel natural, the candy stripe friendship bracelet is the logical next project. It adds one knot to everything already practiced here.
Frequently asked questions
How many strings are needed for a braided friendship bracelet?
Six to nine strings is typical. A three-strand braid with three strings per bundle uses nine, and a four-strand braid with two strings per bundle uses eight.
How long should the strings be for a braided bracelet?
About 24 in (61 cm) per string is enough for a wrist bracelet with ties. Braiding takes up much less length than knotting.
Is a four-strand braid harder than a three-strand braid?
Only slightly. Each pass weaves the far-left bundle over, under and over the other three, and that single move repeats for the whole bracelet.
Do braided bracelets come undone?
Not if both ends are secured with a firm overhand knot. The braid itself holds its shape as long as those end knots stay tight.