Friendship Bracelets for Beginners: A Complete First-Timer Guide
Everything a first-timer needs before knotting: the short supply list, a five-minute string setup, the one knot to learn first and the project that makes the best starting point.
Tutorial at a glance
Materials
- 6-strand cotton embroidery floss in 3-4 colors
- Scissors
- Ruler or tape measure
- Masking tape, a clipboard or a safety pin
Friendship bracelets for beginners come down to three things: a few skeins of embroidery floss, a way to hold the strings still, and one small knot repeated until a pattern appears. Nothing about the craft is expensive or hard to undo, which makes it a forgiving place to start. This guide walks through what to buy, how to set up, which project to choose first and what a first attempt usually looks like, so the first evening goes into knotting rather than guessing.
What a friendship bracelet actually is
A classic friendship bracelet is a narrow band made entirely of knots. Several strings hang side by side, and one string at a time is tied around its neighbor. Each knot is a pair of half hitches, and the knot always shows the color of the string doing the tying. Line those colored knots up row after row and stripes, V shapes and diamonds appear.
There are only four knots in the whole craft, and they are all variations of the same motion. The overview of the four basic friendship bracelet knots explains how they relate. For a first bracelet, one of them is enough.
Supplies for a first bracelet
The shopping list is short, and most of it may already be in a drawer.
- Embroidery floss. Standard 6-strand cotton floss, used whole. Do not split the strands apart. Three or four colors with clear contrast are plenty.
- Scissors. Any sharp pair that cuts floss without fraying it.
- A ruler or tape measure. Strings that are cut too short are the most common reason a first bracelet gets abandoned.
- An anchor. Masking tape on a table, a clipboard, or a safety pin through the starting knot and into a cushion or the knee of a pair of jeans.
Pearl cotton and bundled craft thread also work, and each behaves a little differently. The comparison of the best thread for friendship bracelets covers sheen, thickness and colorfastness in detail. For now, ordinary cotton floss is the right choice because nearly every tutorial assumes it.
Tip
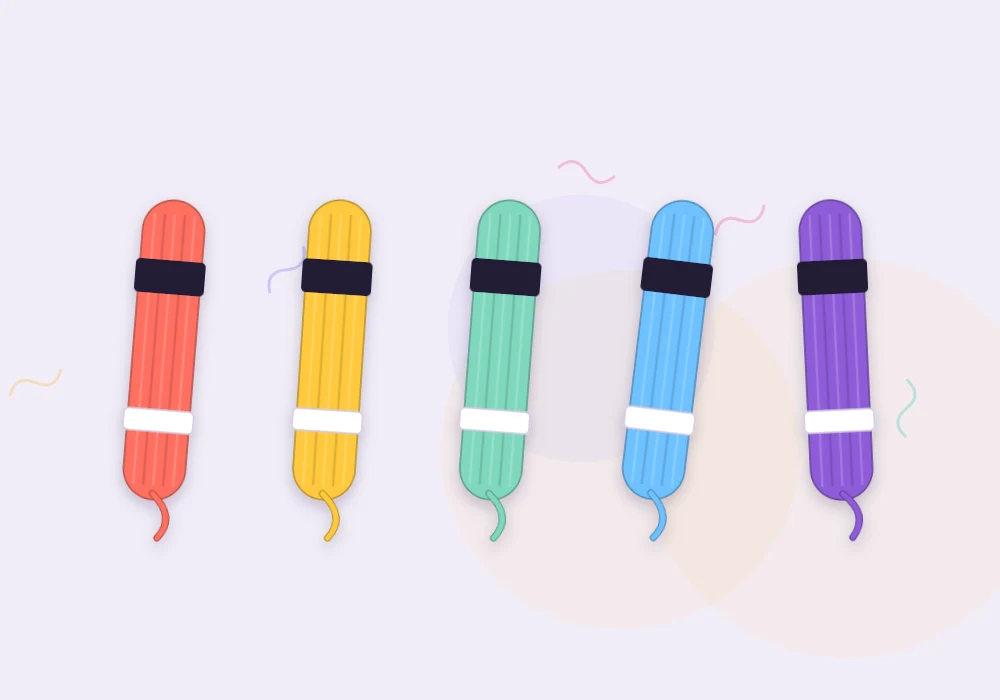
Pick colors that differ in lightness as well as hue, such as one dark, one bright and one pale. Knots are small, and colors that look different on the skein can blur together once they sit side by side in a band.
Setting up your strings
Setup takes about five minutes and decides how comfortable the next hour will be.
- Cut. Measure about 36 in (91 cm) per string for a standard wrist bracelet. That is the generous end of the usual 30-36 in (76-91 cm) range, and extra length is easy to trim later.
- Gather. Line up the ends and tie all the strings together in one overhand knot, leaving a tail of about 3 in (8 cm) above it. The tail becomes one of the ties that fastens the bracelet.
- Anchor. Tape the tail to a table just above the knot, or clamp it under the clip of a clipboard.
- Arrange. Fan the strings out below the knot in the color order the pattern asks for, flat and untwisted.
An overhand knot and a strip of tape is the simplest start, but it is not the only one. Loops and braided loops make tidier closures, and the guide on how to start a friendship bracelet compares them once the basics feel comfortable.
Learn one knot first: the forward knot
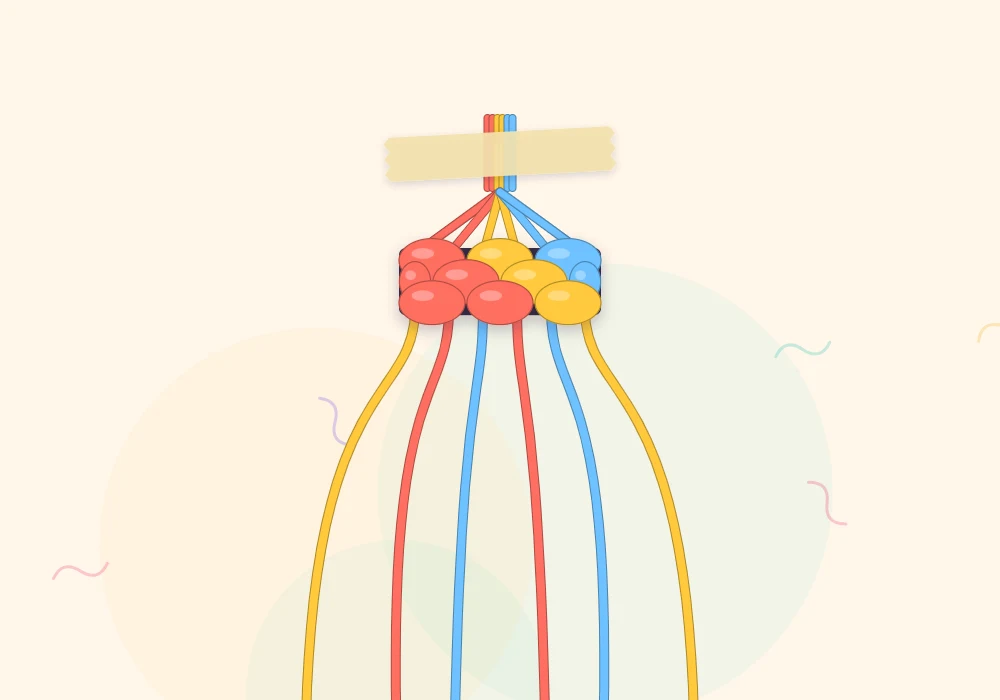
The forward knot moves a string one place to the right. Take the leftmost string as the working string and hold its neighbor straight and taut. Lay the working string over the neighbor so the two form the shape of a “4”, pass the end under the neighbor and up through the opening, then slide the loop to the top and tighten. Do exactly the same thing a second time on the same neighbor. Those two half hitches together make one knot, and the working string now sits on the right of the string it was tied around.
Two habits matter more than speed. Keep the holding string pulled straight down, so the working string wraps around it and not the other way round. And always tie the second half hitch, because a single one will loosen and twist the band.

Choosing a first project
A good first project uses a single knot, has no counting beyond “one more row” and looks good even with uneven tension.
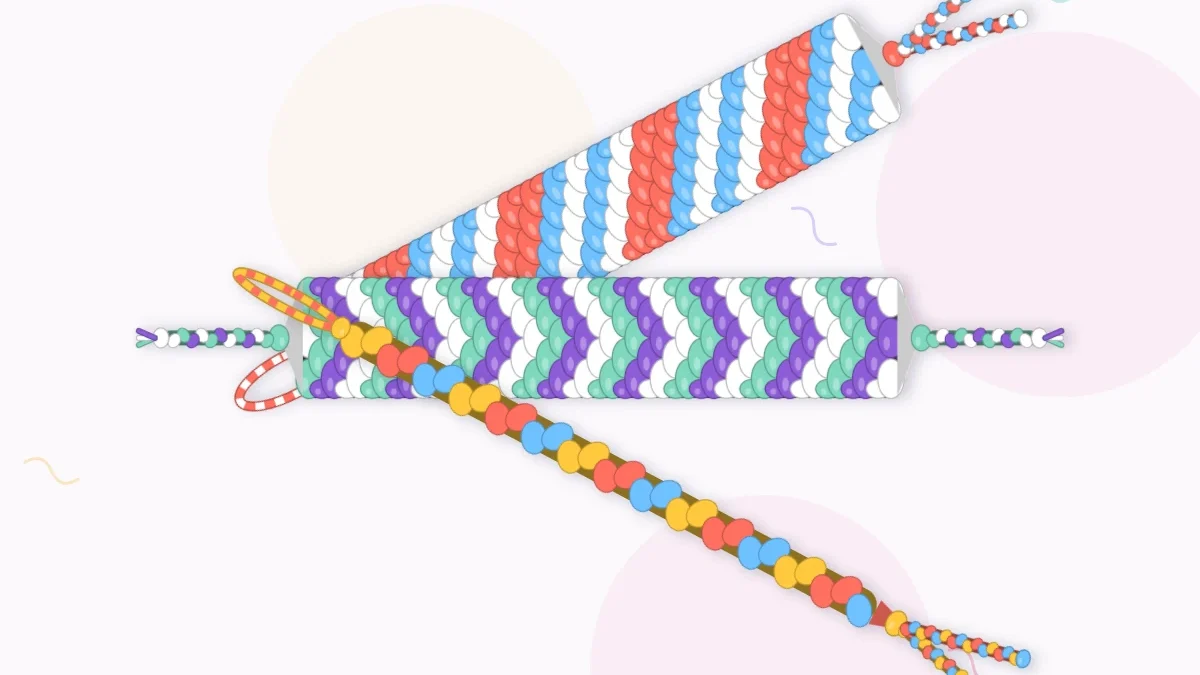
| Project | Knots needed | Why choose it |
|---|---|---|
| Three-strand braid | None | A fifteen-minute warm-up for handling floss and judging length |
| Candy stripe | Forward knot only | The best first knotted bracelet: one motion, diagonal stripes |
| Chevron | Forward and backward | A natural second project once the forward knot is automatic |
| Alpha patterns | All four | Worth saving until rows and tension are steady |
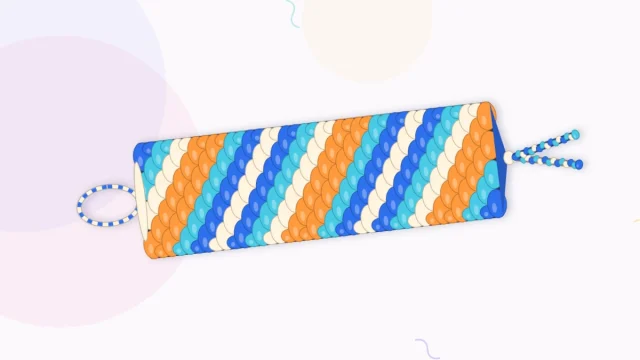
The candy stripe is the usual recommendation for good reason. The leftmost string ties forward knots across all the others, then the new leftmost string does the same, and the stripes build themselves. The candy stripe friendship bracelet tutorial takes it row by row with a four-color layout.
What to expect from a first bracelet
A first candy stripe takes about 2-3 hours, usually spread over a couple of sittings. The first inch tends to look rough: knots vary in size, the edges wander and the stripes may not line up. That section sits near the tie and is rarely noticed once the bracelet is worn. By the second inch the hands have found a rhythm and the rows even out.
Some things that seem like mistakes are normal:
- The band curls or twists. Candy stripe bands lean because every knot pulls the same way. Pressing the finished bracelet flat under a book overnight helps.
- The strings tangle below the work. Run the fingers down through them every few rows to comb them straight.
- The hands get tired. Tight knots are not better knots. Firm and consistent is the goal.
Watch out
Do not cut strings shorter to save floss. A string that runs out an inch before the end cannot be stretched, and joining in a new piece is fiddly. Leftover length simply becomes the ties.
Where to go after the first one
Once a candy stripe is on a wrist, the next step is the backward knot, which is the forward knot in mirror image. With both in hand, chevrons, zigzags and diamonds all become possible, and pattern charts start to make sense. Keep the first bracelet. Compared with the fifth, it shows how quickly even tension develops.
Frequently asked questions
What is the easiest friendship bracelet for a beginner?
The candy stripe is the easiest knotted bracelet because it uses only the forward knot, repeated across every row. A three-strand braid is even simpler and needs no knots at all.
How many strings does a beginner bracelet need?
Six to eight strings is a comfortable range for a first bracelet. Fewer than six makes a very thin band, and more than eight means long rows and more strings to keep in order.
Should embroidery floss be separated into strands for bracelets?
No. Use the floss whole, with all six strands together. Splitting it makes thin, weak strings and tiny knots that are hard to keep even.
How long does it take to make a first friendship bracelet?
Plan on about 2-3 hours for a first candy stripe, often over two sittings. Speed picks up quickly, and later bracelets of the same size usually take around half that time.