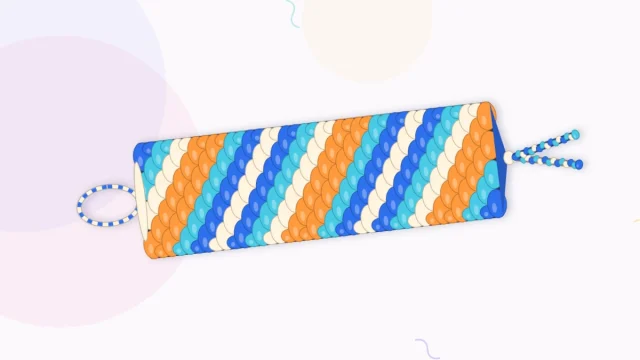
Striped Friendship Bracelet: How to Knot Horizontal Stripes
Horizontal stripes come from one working string knotting back and forth across fixed base strings. Here is the setup, the row-by-row method, clean color changes and how row counts set band width.
Tutorial at a glance
Materials
- Embroidery floss in navy for the base strings
- Embroidery floss in teal, cream and rose for the bands
- Scissors
- Ruler or tape measure
- Tape or a clipboard
Most beginner patterns produce slanted stripes, so a striped friendship bracelet with bands that run straight across the wrist looks like a different craft. It is not. The knots are the familiar forward and backward knots, but they are organized differently: one working string at a time travels across the row and back over a set of base strings that never move. Change the working string and the color of the band changes with it.
How horizontal stripes are built
In a candy stripe, every string takes a turn at tying and at being tied around, and the strings swap places constantly. A horizontal-stripe bracelet splits those jobs:
- Base strings hang straight down the whole length of the bracelet. Knots are tied around them, so they end up completely covered and do not show in the band.
- Working strings do all the tying. One of them crosses the base strings from left to right with forward knots, turns at the edge and comes back with backward knots.
Because the knot always shows the working string’s color, each pass lays down a solid line of that color. Two passes (over and back) make the thinnest practical band. This is the same back-and-forth structure used for lettering and motifs, which is explained in alpha bracelet patterns for beginners. Plain stripes are the friendliest way to practice it.
Strings and lengths
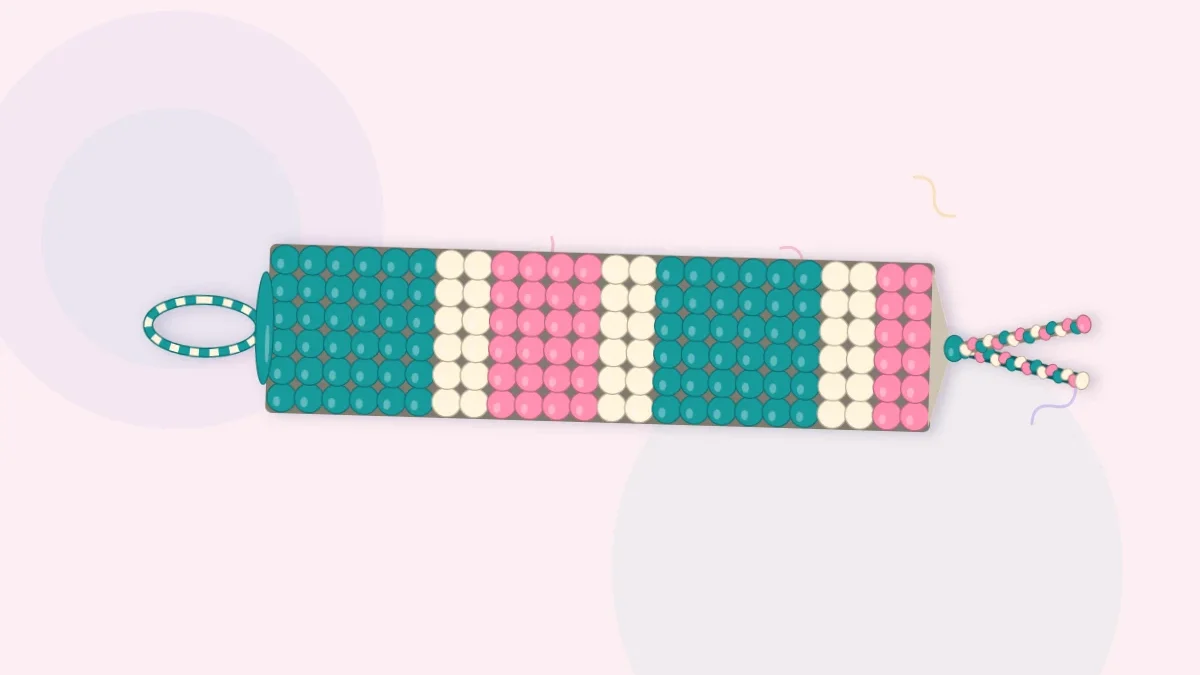
The example below uses three band colors, teal, cream and rose, over six navy base strings. The base color only shows in the ties at each end, so navy was chosen to frame the band.
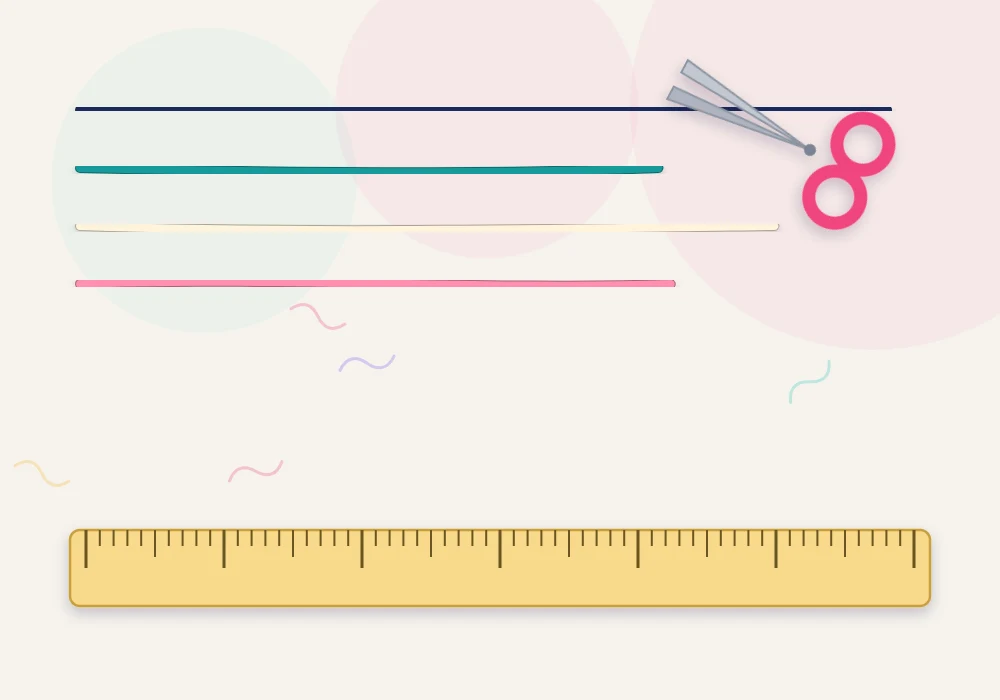
- Base strings: 6 strings of navy, about 30 in (76 cm) each.
- Working strings: 1 teal about 110 in (279 cm), 1 cream and 1 rose about 80 in (203 cm) each.
The working strings look absurdly long, and they need to be. Each row of six knots uses roughly 3 in (8 cm) of floss, and the base strings use almost none. Treat these numbers as generous estimates, since knot tension changes consumption. Teal is longer because it covers more rows in this layout. For other widths and wrist sizes, the length tables in how to measure friendship bracelet string are the place to check.
Tip
Wind each long working string into a small figure-eight bundle around two fingers and secure it with a loose slip of scrap floss. Pulling a short bundle through each knot is far quicker than dragging several feet of string.
Setting up
- Gather all nine strings with one set of ends even and tie an overhand knot about 3 in (8 cm) from that end. Tape or clip the tail down.
- Arrange the strings: teal on the far left, then cream and rose, then the six navy base strings.
- Lay cream and rose alongside the first navy string so the three hang together as one thick strand. These two are resting. They will be knotted over along with that base string until their turn comes.
Tucking the resting colors into the edge keeps them hidden and stops them from looping loosely up the side of the bracelet.
Knotting a band, row by row
- Row 1, left to right. With teal, tie a forward knot around the thick first strand (navy plus the two resting strings). Then tie a forward knot around each of the remaining five navy strings. Teal is now at the right edge, and there are six teal knots in a line.
- Turn. Bring teal straight down at the edge without leaving a loop.
- Row 2, right to left. Tie a backward knot around each navy string in turn, working toward the left, and finish with one around the thick strand. Teal is back at the left edge.
- Repeat rows 1 and 2 until the band is as tall as wanted.
The backward knot is the forward knot in mirror image, with the working string coming from the right. If it feels clumsy, the backward knot guide goes through hand positions that help. Hold each base string taut and straight down while knotting around it, since the base strings are what keep the rows level.
Changing colors
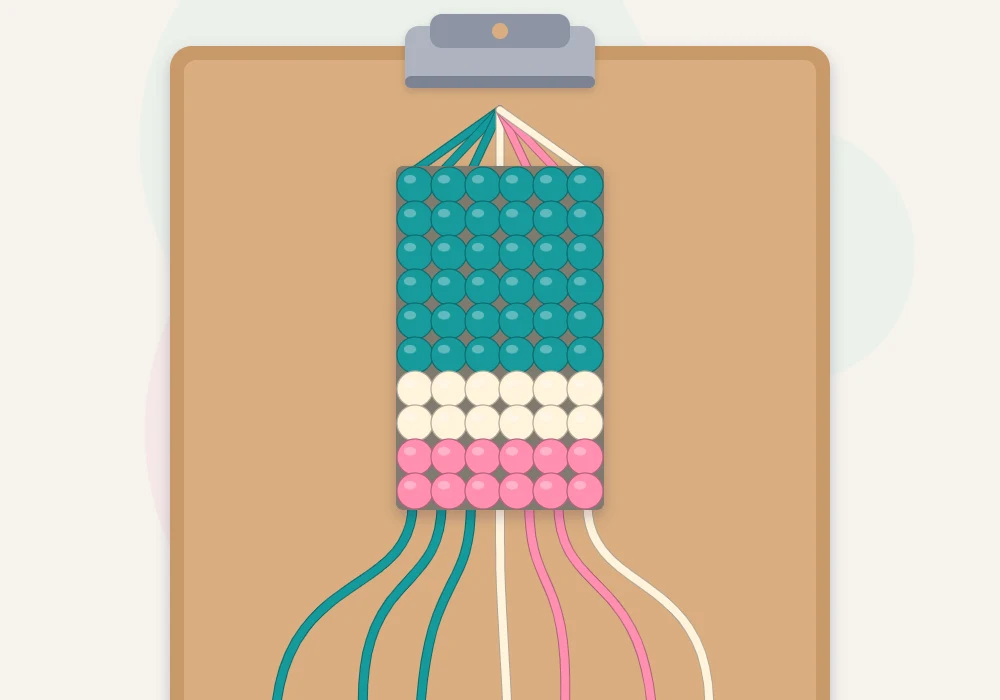
Change colors only when the working string is at the left edge, which means after an even number of rows.
- Lay the old working string against the first navy string, joining the resting group.
- Pull the next color out of that group and bring it to the far left.
- Start the new band with a forward knot around the thick strand, exactly as in row 1, and pull it snug so it sits tight under the last row of the old color.
The first knot of a new band tends to sit a little low. Push it up with a fingernail before tightening the second half hitch.
Watch out
An odd number of rows leaves the working string stranded on the right, away from the resting colors. If a row was miscounted, add one more row to bring it home before switching.
Band widths
Band height is simply the number of rows. Because rows come in pairs, heights go up in twos.
| Rows | Look | Best used for |
|---|---|---|
| 2 | Thin line | Accents and dividers between bold colors |
| 4 | Medium band | Even, regular stripes |
| 6 | Wide band | A main color that sets the mood |
| 8 or more | Color block | Two-tone or three-tone block designs |
The example layout repeats a 14-row sequence: 6 rows of teal, 2 of cream, 4 of rose, 2 of cream. The thin cream lines separate the two stronger colors, and the unequal teal and rose bands keep the rhythm from looking mechanical. For strict, even stripes, give every color 4 rows.
Keeping edges straight
The edges of a horizontal-stripe bracelet are made of turns, and they are where neatness shows.
- At every turn, tighten the first knot of the new row until the working string hugs the edge, but stop before the band narrows.
- Keep the outer base strings parallel. If the band is getting narrower, the edge knots are being pulled too hard.
- Check the width against the first few rows from time to time, and ease off or firm up to match.
Knot until the band measures about 6 in (15 cm), finish on a complete band, and tie all the strings in an overhand knot. Plan on about 3-4 hours for a first one: there are many more knots per inch than in a diagonal pattern, and the result is a dense, flat band with crisp stripes.
Frequently asked questions
Why do the working strings need to be so long?
The working string ties every knot in its bands, while the base strings are only wrapped. A single row across six base strings uses roughly 3 in (8 cm) of floss, so the total adds up quickly.
Do the base strings show in a horizontal stripe bracelet?
Not in the knotted band, because every base string is covered by knots. They do show in the ties at each end, so choose a color that suits the stripes.
Can a striped bracelet have a band with an odd number of rows?
It can, but the working string then ends on the right edge, away from the resting colors. Even row counts keep every color change on the left and the edges tidy.
How wide is a bracelet made with six base strings?
Six knots per row gives a band of roughly 3/8 in (1 cm), depending on tension. Add or remove base strings to change the width.