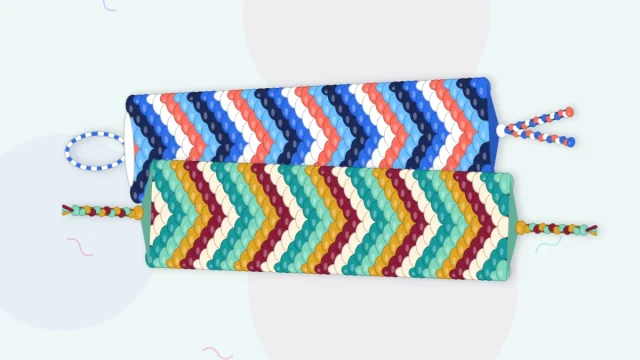
Reverse Chevron Bracelet: Knotting From the Center Out
The reverse chevron bracelet flips the classic V into an arrowhead by knotting from the center out to the edges. Learn the row, the color order and how to combine both directions.

Tutorial at a glance
Materials
- Embroidery floss in 4 colors
- Scissors
- Ruler or tape measure
- Tape or a clipboard
Turn a chevron upside down and the V becomes an arrowhead pointing back toward the start of the bracelet. That is the reverse chevron bracelet. It uses the same strings, the same mirrored setup and the same two knots as the standard version, but every row begins in the middle and travels outward to the edges. Learning it is worthwhile for its own look, and because knotting from the center outward is half of what makes diamonds and X shapes possible.
How the reverse chevron differs
In the standard chevron, the two outer strings knot inward and meet in the middle. In the reverse version, the two center strings knot outward and finish at the edges. Everything else follows from that one change.
| Chevron | Reverse chevron | |
|---|---|---|
| Working pair | The two outer strings | The two center strings |
| Center knot | Last knot of the row | First knot of the row |
| Left half | Forward knots, moving right | Backward knots, moving left |
| Right half | Backward knots, moving left | Forward knots, moving right |
| First color to appear | The outside color | The center color |
| Shape, with the start at the top | Point at the bottom | Point at the top |
A finished bracelet can of course be worn either way around, so the difference matters most when you combine the two directions or want the arrows to point a particular way next to a loop or a charm.
Strings and setup
Use the same materials as any eight-string chevron: two strings each of four colors, about 36 in (91 cm) long, in 6-strand embroidery floss used whole. Tie them together and anchor the top.
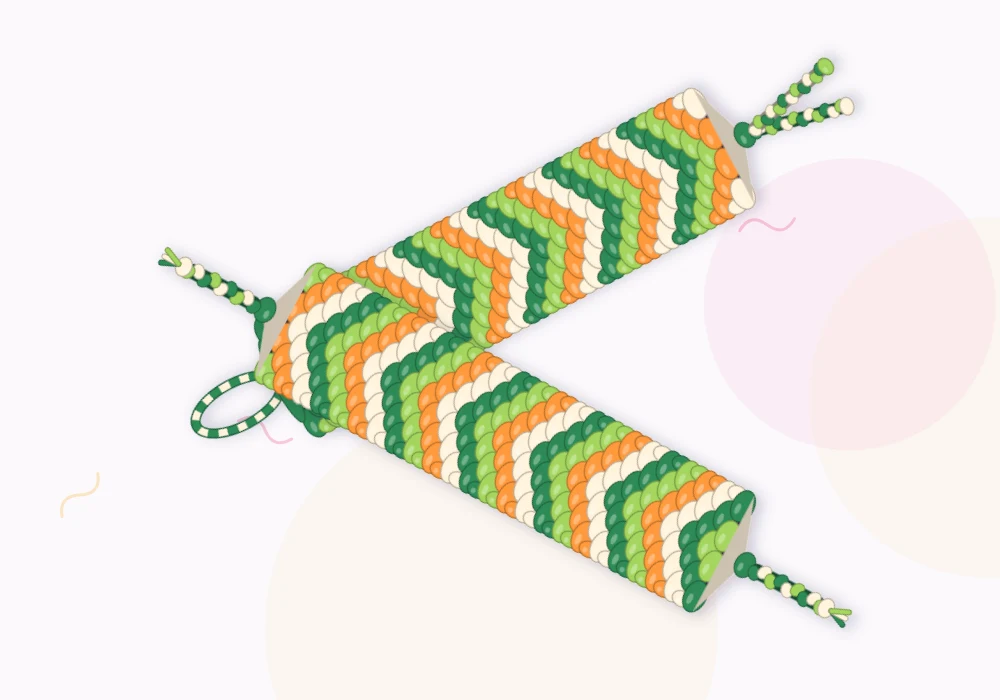
The example colors are forest green, lime, cream and tangerine, set out in mirrored order from left to right: forest, lime, cream, tangerine, tangerine, cream, lime, forest. Notice that the center pair, tangerine, will make the first row. If you want a different color to lead, put that color in the middle.
Knotting from the center outward
- Center knot. Take the two tangerine strings in the middle and tie one forward knot with the left one over the right one. This knot becomes the tip of the arrowhead.
- Left half. Pick up the left tangerine string. Tie a backward knot over cream, then over lime, then over forest. The string moves one place to the left with each knot and ends on the left edge.
- Right half. Pick up the right tangerine string. Tie a forward knot over cream, then over lime, then over forest. It ends on the right edge.
The string order is now tangerine, forest, lime, cream, cream, lime, forest, tangerine. Cream has moved into the middle, so cream makes the second row: center knot, three backward knots to the left, three forward knots to the right. Lime follows, then forest, and after four rows the strings are back where they started.

If arrows on charts are new to you, the conventions are explained in how to read friendship bracelet patterns.
Why the left side feels awkward
Most people learn the forward knot first and tie it far more often, so the three backward knots on the left half are usually the slow part of each row. The motion is a mirror image: the working string is laid over its left-hand neighbor in a backward “4” shape, passed under and up through the opening, and pulled up to the top, twice. The backward knot guide covers hand positions in detail.

Tip
Tie the center knot firmly and pull the first knot on each side straight out to the side before sliding it up. That sets a crisp tip, and the rest of the row lines up below it.
Edges and the start of the bracelet
Because each working string finishes at an edge, the outside of a reverse chevron gets a fresh knot on every row. Pull those last knots to the same snugness each time and the edges come out even without extra effort.
The top of the bracelet behaves differently from a standard chevron. A standard chevron begins with a small unknotted triangle in the middle, under the starting knot. A reverse chevron fills the middle straight away and leaves two small unknotted triangles at the top corners instead. Many makers simply leave them, since they sit next to the ties. Either way, the corners square up after the first three or four rows.
Combining both directions
Switching direction partway through a bracelet is where the pattern becomes interesting, but the two directions do not butt together on their own. Each switch leaves a patch that the main rows skip, and those patches need a few fill knots.
- Chevron, then reverse chevron. The V and the arrowhead touch at the center and form an X. Small triangles at both edges are left unknotted. Fill them before the outward row: on the left, the outer string ties forward knots over the next two strings and the new outer string ties one more; mirror this on the right with backward knots. Then send the center pair outward, skipping the center knot, because the V has already tied it.
- Reverse chevron, then chevron. The arrowhead and the V meet at the edges and enclose a diamond-shaped space in the middle. That space takes a group of fill knots, usually in a contrasting color.
A popular use of the first switch is a bracelet that changes direction once at the halfway point, so the arrows on both halves point toward the middle of the wrist. Repeating both switches in turn produces a chain of X shapes and diamonds. The full sequence, including the fill knots and the turning knots at the widest point, is laid out in the diamond friendship bracelet pattern.
Watch out
If you switch direction without the fill knots, the skipped strings hang loose as short floats and the band puckers. A gap that appears right after a change of direction is the sign that a fill was missed.
Time and finishing
A reverse chevron takes about as long as a standard one, roughly 1.5 to 2.5 hours for a first try. Stop after a complete row when the knotted section reaches about 5.5 to 6.5 in (14 to 16.5 cm), tie an overhand knot, and braid the tails into ties.
Frequently asked questions
What is a reverse chevron bracelet?
It is a chevron knotted in the opposite direction. Each row starts with a knot between the two center strings, and those strings then knot outward to the left and right edges.
Which color comes first in a reverse chevron?
The center pair makes the first row, so the color in the middle of the mirrored order appears first. In a standard chevron it is the outside color.
Is a reverse chevron harder than a regular chevron?
No. It has the same number of knots per row and uses the same forward and backward knots. Only the starting point and direction of each row change.
Can I switch between chevron and reverse chevron in one bracelet?
Yes, but each switch leaves a small patch that needs fill knots: triangles at the edges in one case and a diamond in the center in the other. Without them the band has loose floats.