Zigzag Friendship Bracelet Pattern: Knot One Way, Then Back
A zigzag bracelet tutorial with six strings: knot diagonal rows to the right, turn, and knot back to the left. Includes an original four-color layout and advice for clean turns.
Tutorial at a glance
Materials
- Embroidery floss in plum, sun yellow, teal and blush
- Scissors
- Ruler or tape measure
- Tape or a clipboard
Knot a set of diagonal rows toward the right, turn around, and knot the same number back toward the left: that is the whole idea behind the zigzag friendship bracelet pattern. The stripes fold back on themselves every few rows, so the band looks far more intricate than the work involved. It needs only the forward knot and the backward knot, which makes it a natural second or third project.
How a zigzag is built
A zigzag is made of sections, called legs here. In a right-leaning leg, the leftmost string ties forward knots across every other string, exactly as in a candy stripe friendship bracelet. In a left-leaning leg, the rightmost string ties backward knots across to the left edge. Alternate the two and the stripes change slope at every turn.
The clean version of the pattern uses one rule: each leg has as many rows as the bracelet has strings. After that many rows every string has crossed once and the strings hang in their starting order, so the turn always happens at the same point in the color sequence.
Strings and color layout
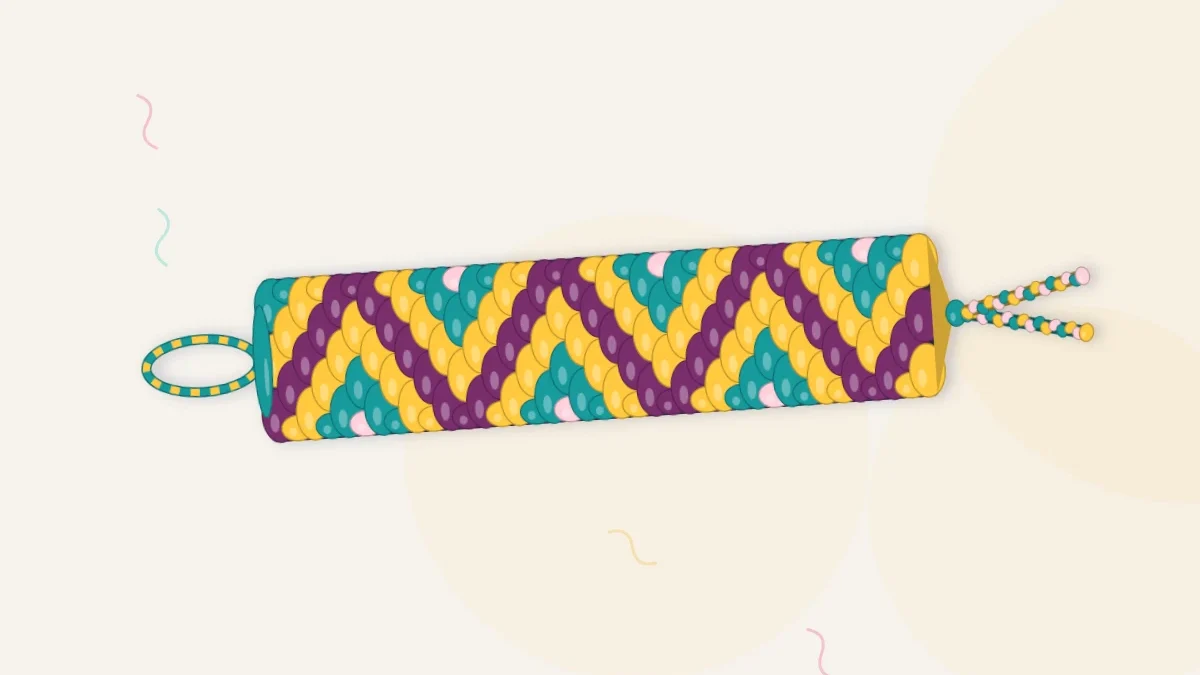
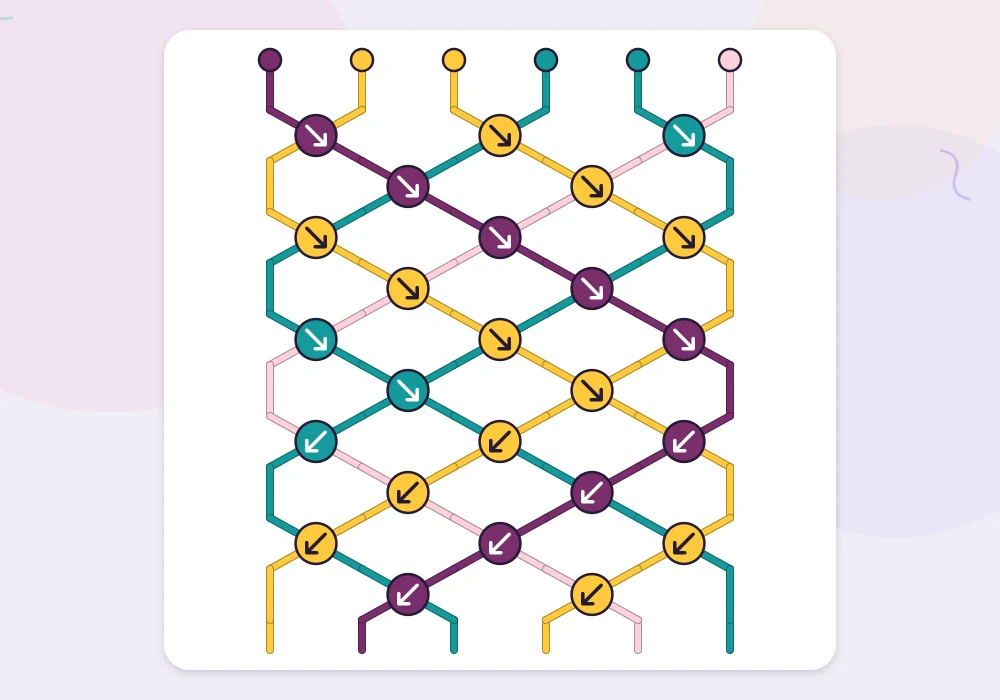
This original layout uses six strings in four colors, taped down in this order from left to right: plum, sun, sun, teal, teal, blush.
The two outer colors are single strings on purpose. At every turn, the string that has just finished a row is also the one that starts the next row, so its color is knotted twice in a row. Plum and blush each get doubled at a turn, and the sun and teal pairs are already double, so every stripe in the finished bracelet ends up two rows wide.
Cut each string about 36 in (91 cm) long. All six strings do the same amount of knotting, so none needs to be longer than the others. Tie them together with an overhand knot about 3 in (8 cm) from the top and tape or clip the tail to a firm surface.
Knot the first leg
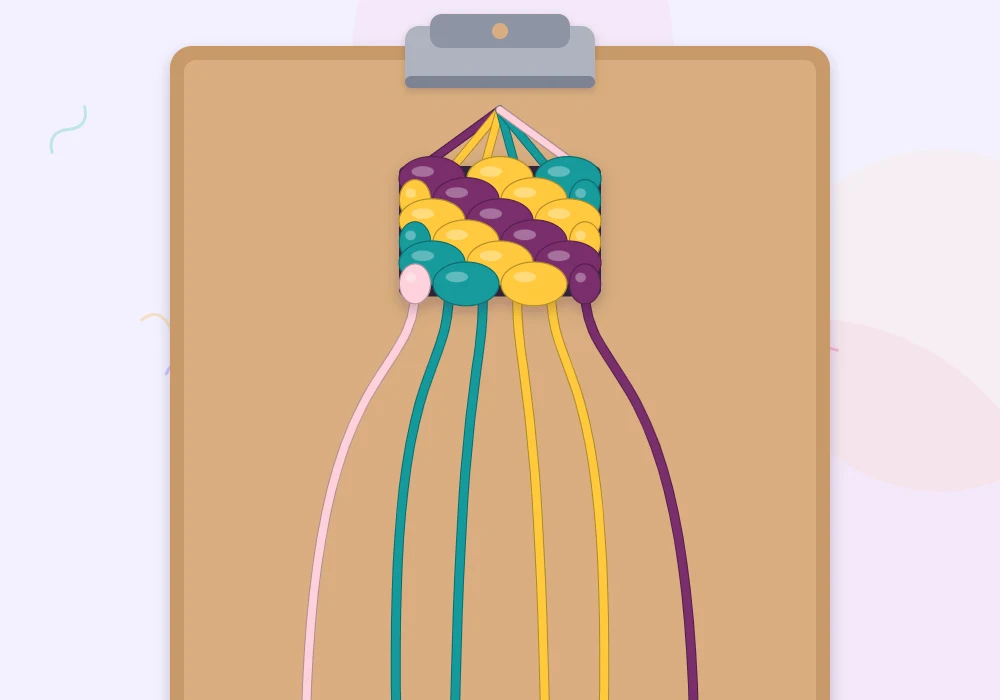
- Pick up the plum string on the far left and tie a forward knot (two half hitches) around the sun string beside it.
- Continue across, tying one forward knot around each of the remaining strings, until plum hangs at the far right. That row has five knots.
- Repeat with the new leftmost string: sun, then sun again, teal, teal and finally blush.
- Stop after six rows. The strings are back in their starting order and blush, the last working string, hangs at the far right.
Turn and knot back
The turn is where a zigzag is won or lost, and it comes down to using the correct string.
- Leave blush where it is, on the far right. Do not reach for the left edge out of habit.
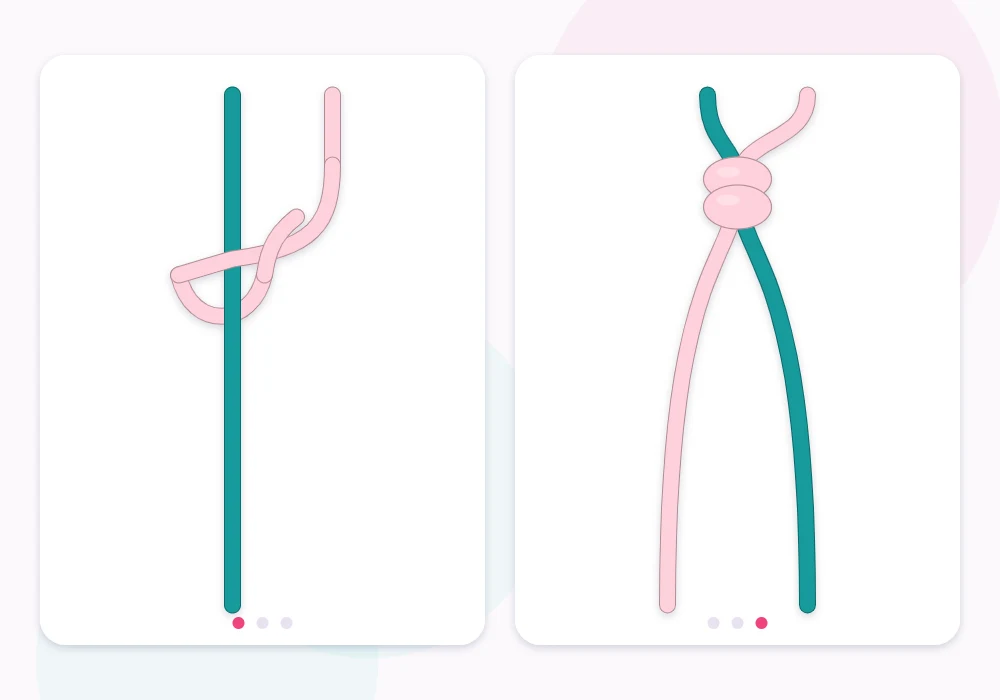
- With blush, tie a backward knot around the teal string to its left: make a backward “4”, pass the end under and up through the opening, pull the loop up, and repeat.
- Carry on to the left, one backward knot around each string, until blush hangs at the far left.
- Repeat with the new rightmost string each time: teal, teal, sun, sun and plum.
- After six backward rows the strings are in their starting order again, with plum on the far left. Plum now starts the next right-leaning leg with forward knots.
If the reversed hand motion feels clumsy, the backward knot guide breaks it down. Keep alternating legs of six rows until the bracelet is long enough.
Turning rows cleanly
- Finish the row first. The working string must have knotted around every other string and hang at the very edge before the direction changes.
- Seat the first return knot gently. Slide it up until it rests just under the edge knot of the row above, then tighten with a moderate pull. A hard tug pinches the edge inward.
- Keep the holding string straight. At a turn the hands swap roles, and it is easy to let the wrong string go slack, which flips the knot to the wrong color.
- Expect the band to bend. Right-leaning rows push the band one way and left-leaning rows push it back, so the edges of a zigzag are gently scalloped rather than ruler-straight. Smooth each finished leg flat with the fingers before starting the next.
- Use the string order as a row counter. When the strings match the starting layout again, the leg is complete.
Tip
Note the starting order on a slip of paper and keep it beside the work. Checking the hanging strings against it takes a second and is more reliable than counting rows after an interruption.
Watch out
Turning early changes the design more than expected. If a leg has fewer rows than there are strings, the same few strings do all the knotting in both directions and the remaining colors never appear on the surface.
The zigzag on a chart
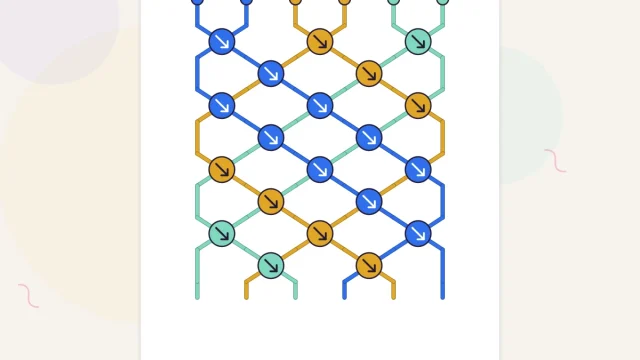
A knot chart for this pattern shows blocks of rows whose arrows all point down and to the right, followed by blocks whose arrows all point down and to the left. The place where the arrows flip is the turn, and the same color sits on both sides of it.
Length, finishing and variations
Each pair of legs is twelve rows. Knot until the patterned section measures about 6 in (15 cm), or wraps the wrist with a finger-width gap, and try to stop at the end of a leg so both ends of the bracelet match. Allow about 2-3 hours for a first try. Tie an overhand knot against the last row and braid the loose ends into ties.
The layout can be changed freely as long as each leg still has one row per string:
| Change | Effect |
|---|---|
| Eight strings instead of six | Longer legs and a deeper, slower zigzag |
| Pairs on the outside as well | Turn stripes four rows wide, which emphasizes each bend |
| All single strings in different colors | Thin stripes, with only the two turn colors doubled |
| One pale string among dark ones | A single bright line that traces the zigzag |
A stripe that shows the wrong color near a turn almost always means a knot was tied with the holding string by mistake; how to fix friendship bracelet mistakes explains how to unpick it with a pin. Once switching between forward and backward knots feels automatic, the chevron friendship bracelet is the logical next step, since it uses both knots within the same row.
Frequently asked questions
Which knots does a zigzag friendship bracelet use?
Forward knots for the rows that lean right and backward knots for the rows that lean left. No other knot is needed.
How many rows should each section of a zigzag have?
As many rows as there are strings. That lets every string cross once and returns the strings to their starting order before the turn.
Why is one stripe wider at every turn?
The string that finishes a row at the edge also starts the next row going back, so its color is knotted twice in a row. Using a single string of that color on the outside keeps the stripe the same width as the others.
Why are the edges of a zigzag bracelet wavy?
Rows leaning right and rows leaning left pull the band in opposite directions, so it bends a little at each turn. A gentle scalloped edge is part of the pattern.